Final Steps and Clean-Up on DIY RTA Cabinets Loft & Bunk Bed Solutions
Welcome to this thrilling conclusion to our series on making loft & bunk bed storage with RTA cabinets! If you’re just joining us, you should take a trip back through articles 1 & 2 covering this latest entry in our DIY ideas area.
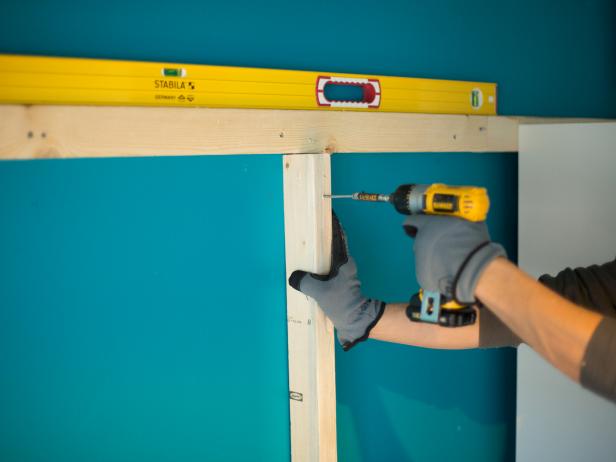
Fitting vertical reinforcements to wall frames for your cabinets
- Making Loft & Bunk Bed Storage with RTA Cabinets Part 1
- Making Loft & Bunk Bed Storage with RTA Cabinets Part 2
All caught up? Then let’s carry on with the rest of our DIY project.
Creation of Braces for Walls
The backs of your ready to assemble cabinets need to be reinforced to contribute a strong surface area for the bed components being built atop them. Initially, you’ll want to measure out 2×4” wood to the complete length of the wall (that you’ll be attaching to). Cut with your hand saw. Use the height of your cabinets as a reference point for installing the 2x4s horizontally to brace; the reinforcements can then be secured with 3” wood screws.
Finally, you’ll want to add vertical braces that reinforce the loft or bunk bed frame above the cabinets. Simply screw these to the wall leading up to the horizontal braces.
DIY Supports for Your Bed Frames
Supports for bed frames need to pull multiple duties for this project: adding proper strength and support for a secure bed, while also assisting in concealing any additional lumber used between your cabinets.
Use a hand or circular saw in order to cut a 2×4 piece of lumber to the same height as your vertical wall brace support. Following this, measure the width of your mattress. You will want to cut out two 2×4 pieces the length of that width measurement. These will secure your new vertical support frame on the left and right. Secure all of these pieces together firmly with your drill and 3” wood screws (or your brads and nail gun, alternatively).
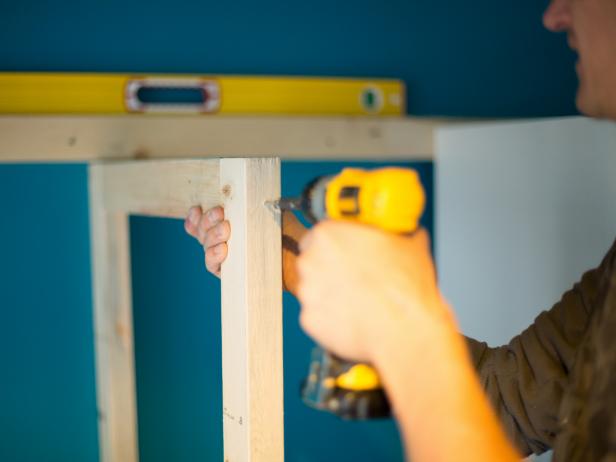
Attaching vertical bed support frame to the wall frame
Finally, cut a length of 2×4 to the same length of your mattress and secure it parallel to your wall atop the bed frame supports.
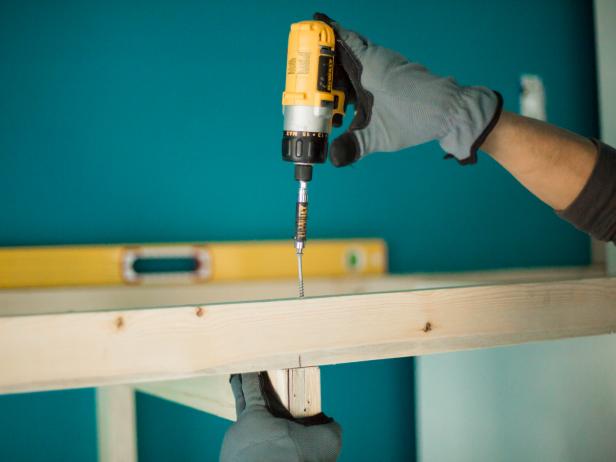
Mattress-length horizontal bed frame support parallel to wall
Installation of Cabinets (Base and Upper)
Position all of your base and lower cabinets atop the base frames and flush against the wall frames previously installed. Secure them to one another with your drill or 3” wood screws. In order to maintain a seamless appearance, be sure to cut out and install filler frames in any gaps between the cabinets.
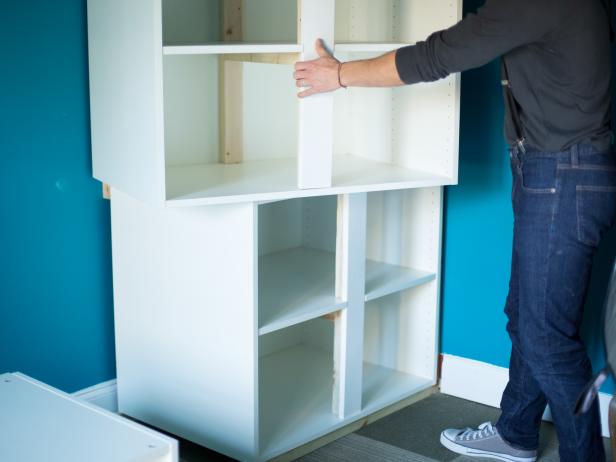
Installing base and lower cabinets
Once everything is installed, cut out fascia from plywood to cover these filler pieces. Attach them with wood glue, followed up by nail gun and brads or 3” wood screws.
Build Bed Frames and Install Open Shelving
To add proper structural support for holding a mattress, cut 2×4″ lumber to size, snugly fitting perpendicular to the horizontal bed frame supports which are attached to the wall. Secure in place using a drill and 3″ wood screws, spacing each 2×4″ strip 18″ apart. Once all 2×4″ strips are installed, measure, mark and cut 4×8′ sheet of 3/4″ paint-grade plywood to same width as mattress. Next, create a front fascia board by cutting 4×8′ sheet of 3/4″ paint-grade plywood the full length of the mattress with a height between 10-12″, then attaching to bed frame supports with drill and 3″ wood screws. Place any assembled open bookshelves into place before installing ladder.
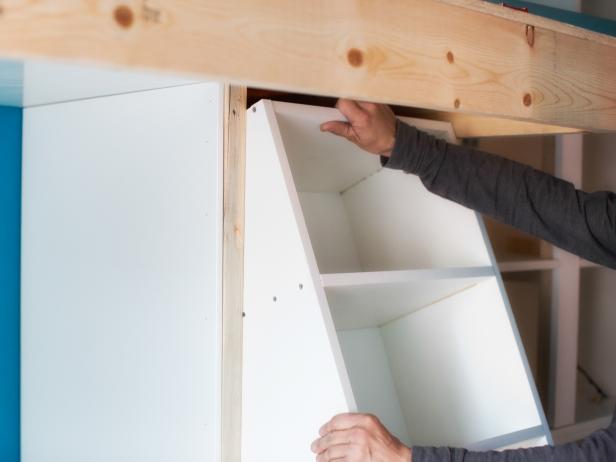
Adding constructed open RTA cabinets
Tip: Bunk bed ladders can be purchased online in a variety of styles or they can be made from 4×8′ sheets of 1″ paint-grade plywood cut to size with a circular saw with miter settings, then assembled using wood glue, 3″ wood screws and drill. Note: When creating bed frames for bottom bunks, keep in mind that fascia boards will need to be cut, painted and installed to fit around filler frames.
Install Upper Cabinets
Position assembled upper cabinets into their proper places, then secure to one another as well as to wall braces and bed frame supports using a drill and 3″ wood screws. Once cabinets are secure, cut ready-made side panels to size using a table saw; secure to bed frame supports with wood glue as well as a nail gun and brads. Measure, mark, cut, paint and install fascia as needed to fill any gaps along the front.
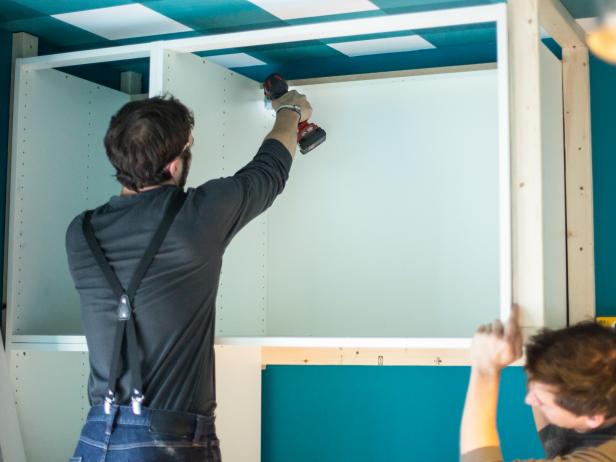
Installing upper cabinets
Paint Bed Fascia & Install Safety Rails
Using a roller handle, roller sleeve and paintbrush, paint bed fascia with two coats of semigloss latex paint. Next, attach safety rails to fascia using drill and 3″ wood or metal screws. Tip: Standard railing can be found online or at home improvement stores; however, custom railing can be easily made from galvanized metal pipe, flanges, threaded nipples and elbows, resulting in an industrial look.
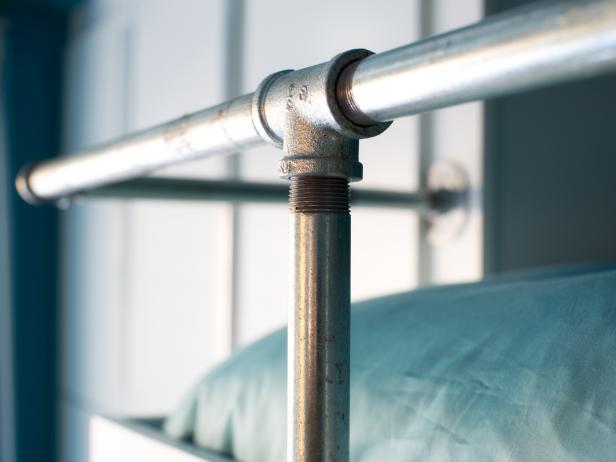
Industrial threaded pipe safety rails
Attach Door Fronts and Hardware
Attach hinges and door fronts in their proper places, then use a drill to secure hardware to each door front.
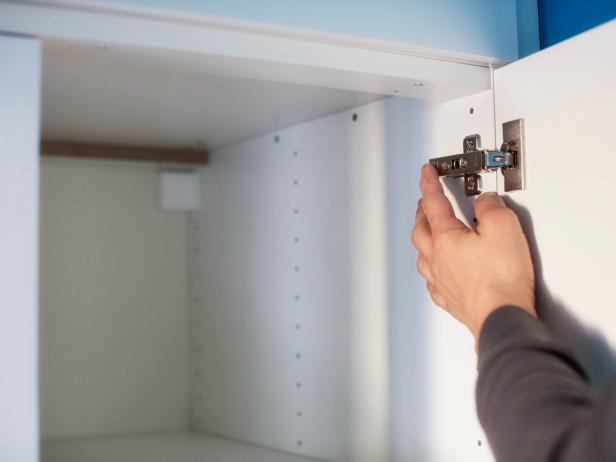
Installing door fronts and handles to RTA cabinets
