How to Get Your Own Cabinets Installed the DIY Way
Rolling your sleeves up and installing your own kitchen cabinets is an excellent path to savings on your kitchen remodel. Using pre-made cabinets will make the job easier, but RTA cabinets can reduce your costs even further on a modest budget.
Don’t get ahead of yourself, though–that’s a great way to get yourself or your wallet injured. Installing your own cabinets, in the kitchen or the bathroom, can still be a tough job. Get a friend to assist you with your install of things like upper cabinets.
Related Topics:
1. Planning & Preparation
Your very first step in this DIY cabinet installation is preparing your workspace. Depending on the state of the area, this could be a little or a lot of work. Have existing cabinets? Possibly ones you’re removing due to cold drafts? They will need to get pulled out; if you want to reuse the wood or portions of front panels in a future upcycle project, you’ll want to take your time and avoid damaging the cabinet box.

With the cabinets out, patching and painting the walls prior to new cabinet installation is a must. You almost certainly want to remove appliances and shut off water and electricity while work is being done.
The Chicken and the Egg: Hardwood Flooring or Cabinets First?
If you’re doing a larger scope remodel that includes flooring, the question of order is a big one. This really merits a larger article encompassing the the subject, but in a nutshell we typically recommend getting your flooring installed first. Here’s why:
- Cabinets and appliances require generous clearance from the floor; installing floors after them may then demand plywood inserts beneath the cabinets to achieve best height.
- You get the cleanest look with toe kicks rather than potentially needing quarter rounds where the cabinets meet the floor to cover up any inconsistencies.
- Cabinets are safe from nicks and scuffs that may be incurred during floor installation.
The only exception to the points above is floating floors like laminate which don’t fully adhere to the floor. Installing these before the cabinets is begging for issues with the expansion and contraction of the floor if portions of it are stuck beneath installed cabinets.
2. Measurements
Now that your preparations are complete, it’s time to measure layouts carefully. The old adage ‘measure twice, cut once’ applies everywhere in the DIY world. If your new cabinets match the old ones, you can utilize them to assist in plotting things out, or you can grab a template at your local design center. If you’re picking up RTA cabinets online, see if they have remodel designers to help you out. Generally they can work with measurements you send them to create an accurate representation of where the cabinets will fit in your space. Don’t neglect to include the dimensions of your appliances in your planning, including range hood.
3. Assembly & Installation
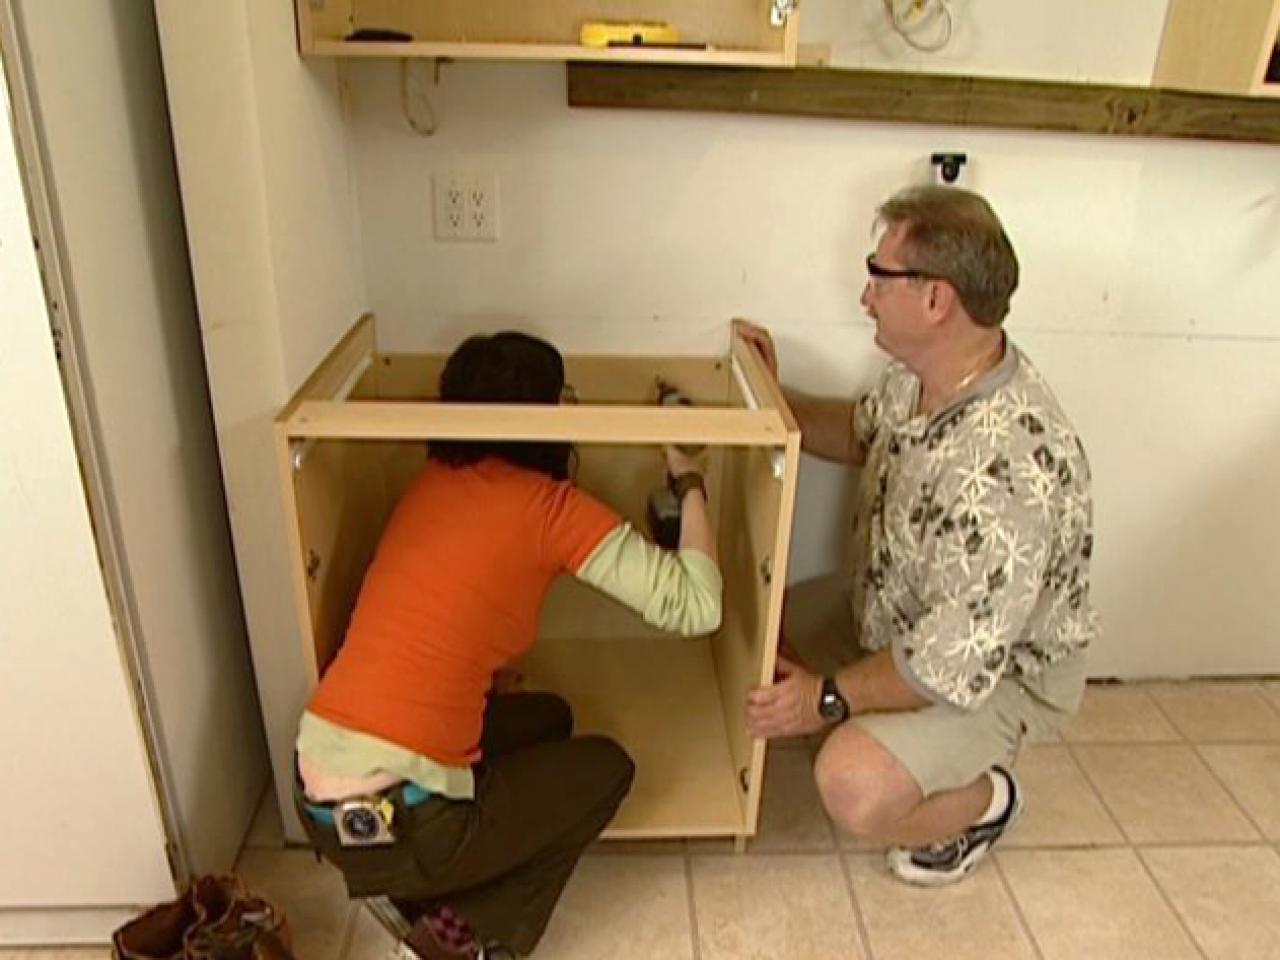
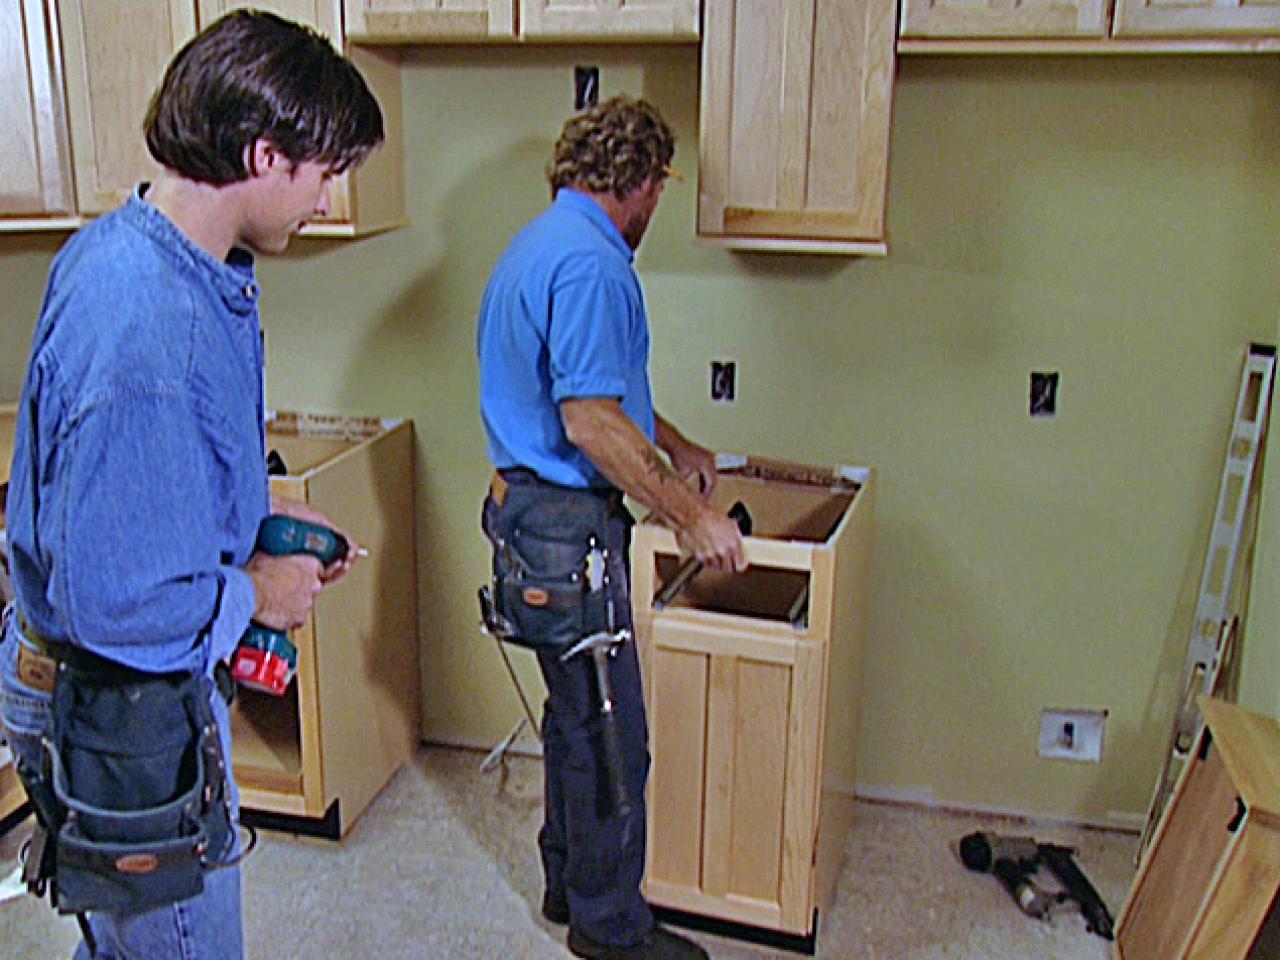
After planning and measuring, you and your helper are ready to get going with the cabinet install. You will want to get your upper cabinets installed first so that you aren’t working over obstructions. Remodelers commonly start from a corner of the room and do a dry-fit first to ensure good location. Get the cabinet box assembled without the doors at first, to get them installed evenly without doors swinging around. Locate the studs in the wall, then either screw the cabinets directly into the studs or hang them onto a support beam screwed into the studs.

Installing lower cabinets after the upper cabinets are in
The bottom cabinets similarly demand stud location. After they’re securely installed where you want them, it’s time to create cutouts at the cabinet backs for any needed electrical outlet access or hookups for your appliances’ plumbing requirements. This is also the right time to check the level at the top of your lower cabinets–they’ll be supporting a countertop, after all.
And there you go, you’re all set! You should be ready to get going on installing the cabinet doors and moving on to your countertops. Thanks for reading! If you’re feeling inspired, check out our article on Seven Home Improvement Projects, DIY Style.


