Learn How to Find a Wall Stud Without a Stud Finder for Your DIY Ideas
Plenty of your projects are going to necessitate a good working knowledge of how to locate your wall studs. Plaster or drywall surfaces in your home’s walls are most likely not up to the task of supporting new shelves or art without hazarding damage to the wall. Without the supporting strength of a stud behind it, it’s unlikely that the plaster or drywall is strong enough to support the weight of what you intend to install.

Owning a reliable electric stud finder is a good idea, and we’d never dispute that. But if you haven’t got one, you can learn some useful low-tech tips for finding your studs with a small inventory of household items and basic logic.
Items You Will Need
- Tape Measure
- Flashlight
- Wire Hanger
- Hammer and Nail
First: Some Notes About Wall Construction
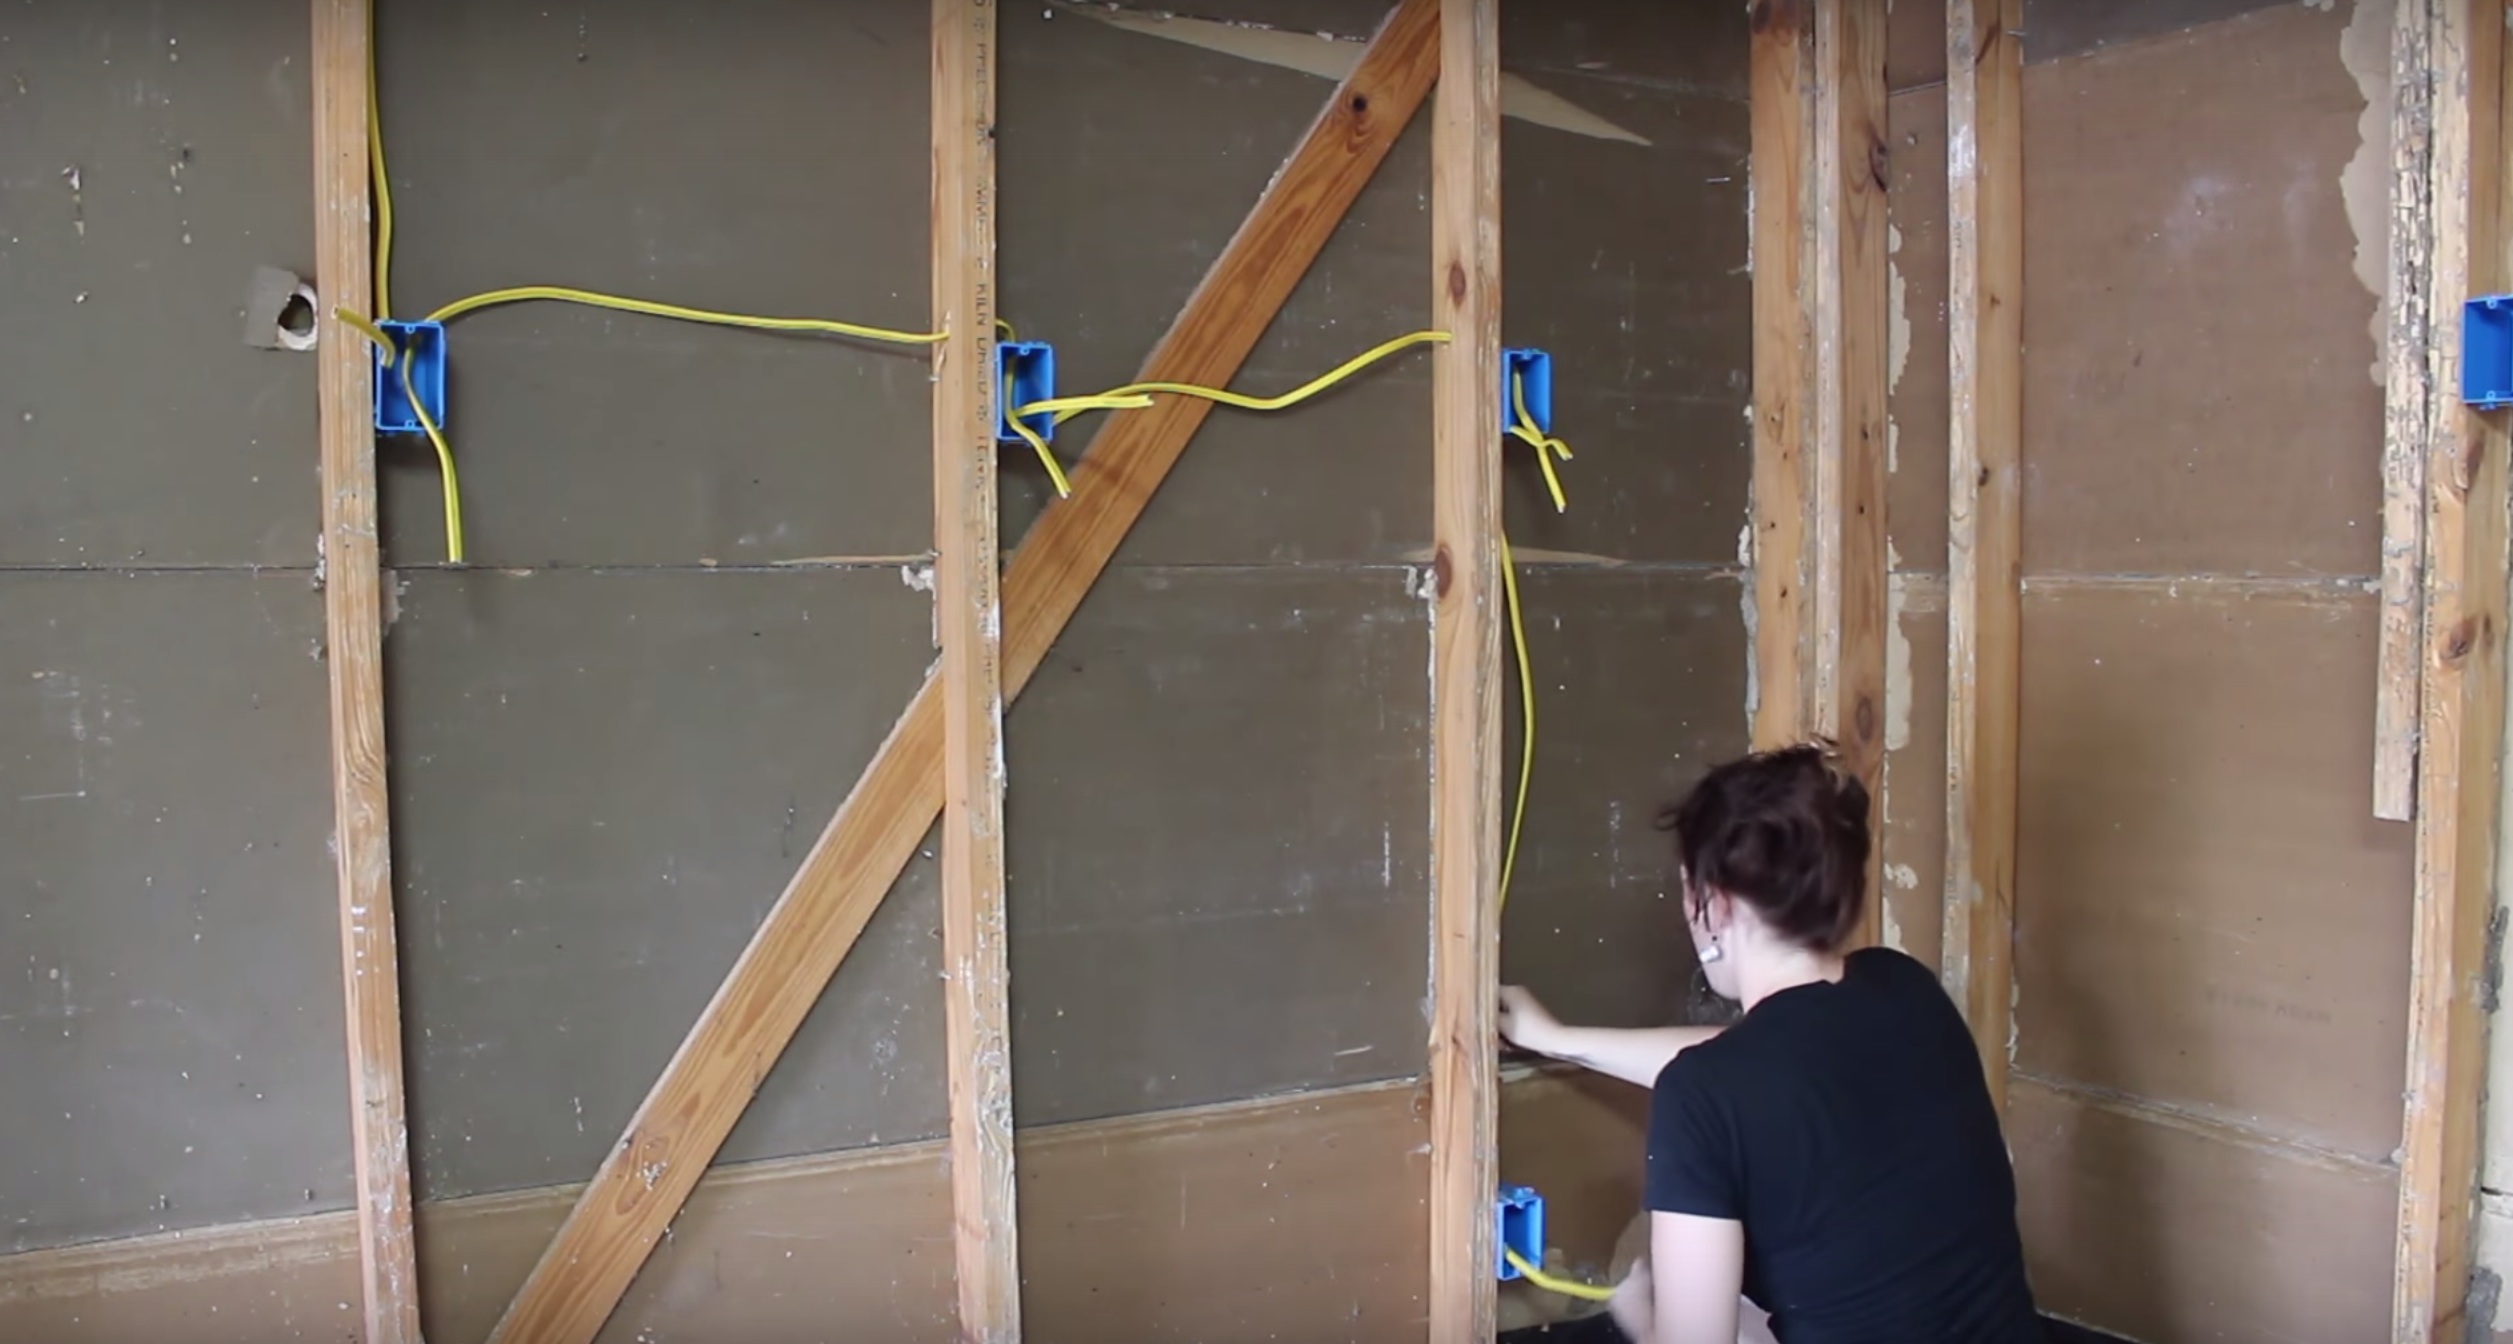
While all houses are unique, there are a few commonalities you can rely on. For example: modern houses with stick frames that have been built since the ‘20s are likely constructed with 2×6 or 2×4 studs.
Some other factors that you can typically set your watch by include:
- Wall studs are typically going to be spaced somewhere between 16”-24” on center. ‘On center’ is measuring from the center of one stud to the center of the next. The overwhelming majority of studs fall on 16” spacing.
- You can usually find a stud at either side of a window. However, these will be based on the floorplan and not necessarily give you a reliable 16” count to find other adjoining studs.
- When you find an electrical switch or outlet, its electrical box is commonly directly adjacent to a stud on one side or the other.
- The true dimensions of a 2×4 piece of lumber will actually vary based on when the house (or that particular wall of the house you’re working with) was constructed. While this is a cumbersome and somewhat perplexing reality, it’s important to know. If your house was built between 1900-1950, then 2x4s were actually true to name. But between ‘50 and ‘65, many houses were built with 2x4s that measured closer to 1-⅝”x3-⅝”. Even worse, most of the modern “2×4”s you encounter can measure 1-½”x3-½”. They’re getting shorter! All of this is important to be aware of, as measuring ‘on center’ for studs will vary based on the 2×4 width.
 Trim (your shoe molding, baseboards, and crown molding) nails can usually be found at stud intervals. If you are trying to install crown or quarter round molding, check your baseboards or vice versa.
Investigate the Trim
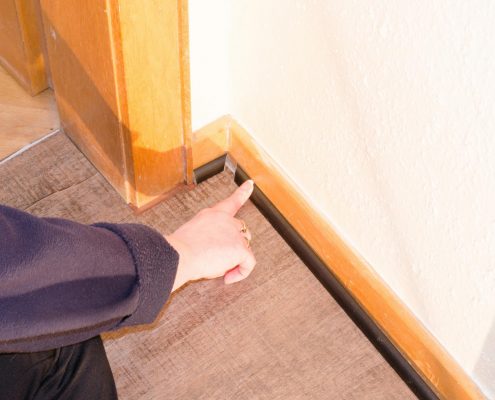
You may be able to quickly ascertain where the studs are located by closely inspecting your baseboards. These will more often than not be nailed at stud intervals, so it’s a matter of seeing where these points are. While the nails will usually have been caulked in after and painted over, you can often spot their locations by looking for dimpled areas of the baseboard surface. If you believe you’ve spotted one, just measure about 16” away in either direction to see if you find more.
Let the Light Be Your Guide
If the trim doesn’t give you any satisfaction in your stud search, you next best bet is to use electrical outlets or switches. These are primarily installed on one side or the other directly against a stud. Using the “knock test” with the wall, rap at it to both sides of the electrical box. One of the sides should produce less of a hollow noise in response, meaning that there is a physical object (the stud) behind the plaster or drywall.
If this works out for you, get your tape measure. Measuring out about ¾” away from the edge of the electrical box should put you on center of the stud. Then work your way out 16” or so to locate your next stud.

If At First You Don’t Succeed, Try a Wire Hanger
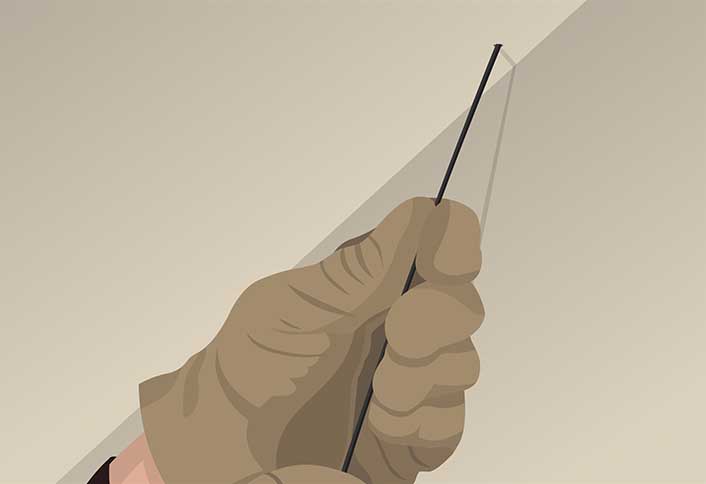
If all of the aforementioned tips don’t yield any positive results, you can resort to the oldest method: after attempting your knock test, try a small nail. If the nail doesn’t find purchase in a stud, you can bend a wire hanger at a 90º angle. Insert it through your nail hole and investigate around with it behind the wall to find your stud.
You can use a small marker to put a dot on the side of the hanger protruding from the wall when it has smacked against the stud. Then once you remove the hanger, hold it against the outside of the wall and rotate until that same dot is facing straight up again. This will show you somewhat reliably where the edge of your stud is. Too easy!
We hope you find these tips helpful! Had a tough time finding your studs? Let us know your experiences in the comments below.


