Removing Your Recirculating Hood for a New Ducted Range Hood
Most kitchens are equipped with range hoods–no surprise there. What you may not know is just how many of these hoods don’t do any good at eliminating smoke, grease, steam, or odors from your kitchen and home. Poor quality hoods simply re-circulate all of the air, sucking it through a filter and then blowing it right back into the room. A proper range hood fully evacuates all of the unclean air out of the home. Obviously, replacing your old recirculating hood with one that actually gets the job done is of paramount importance. And getting it done yourself is a breeze.
In many kitchens, the range can sit against an exterior wall. In such a case, you will want to run the duct out the rear of the hood, then through the house wall. Conversely, you could run the duct right up into the upper cabinet and then cut through the roof–or turn it down and run through the eave.
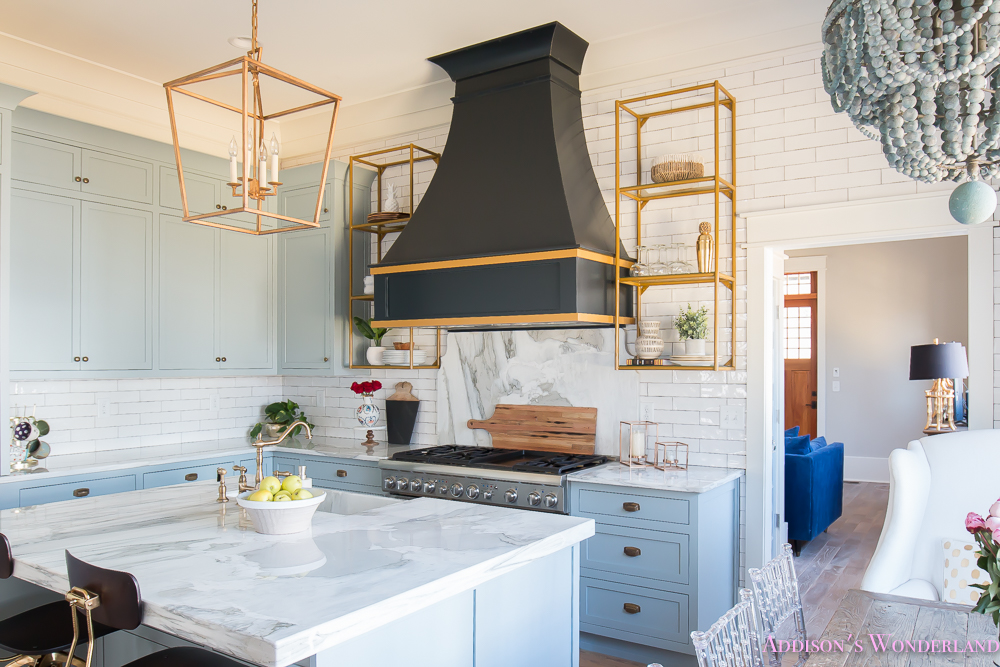
Picture credit: Addison’s Wonderland
Related Topics:
- The Three Important Questions to ask about Range Hoods
- Keeping Your Cabinets Clean
- Why DIY At All? Self-Determination is the Answer
If your range is placed against an interior wall, the duct can track up into the soffit above the cabinets or between ceiling joists, and then exit through whatever the closest exterior wall is. Regardless of the scenario, you want to ensure that your duct leads to the outdoors; never terminate your ventilation inside of an attic or any other enclosed space in your home.
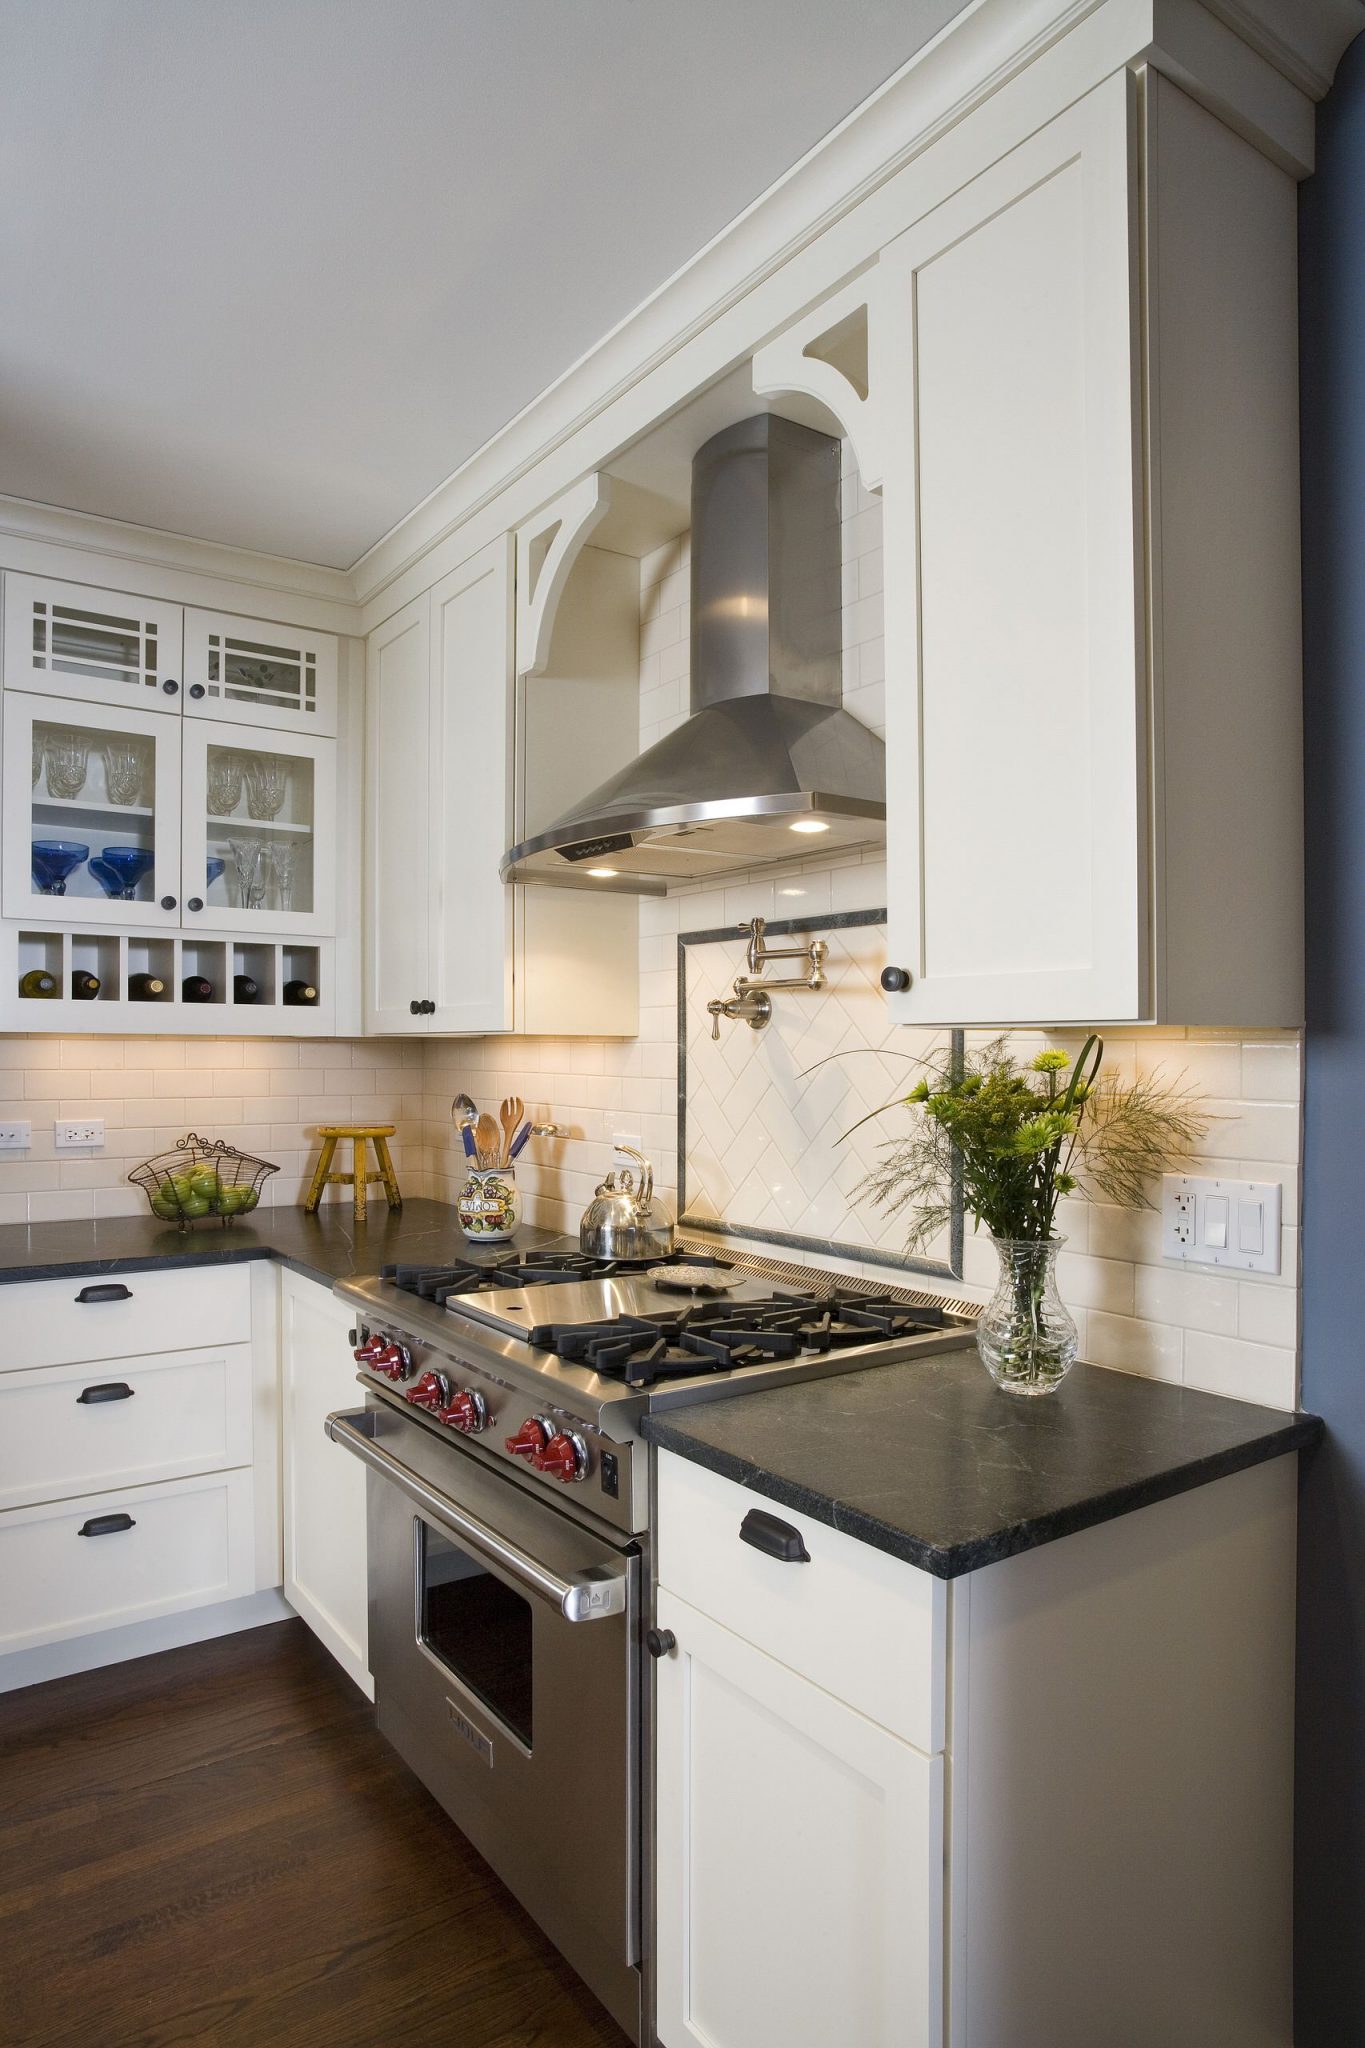
The majority of recirculating range hoods can be modified to an exhaust hood using standard ducting (7” diameter round, or 3 ¼ x 10” rectangular). Insofar as the hood itself goes, the sky’s the limit as far as your creativity goes. Find something you enjoy that fits the aesthetic of your kitchen; there are countless beautiful hoods available to purchase online. For the purpose of this project, we went with a 30” K1005 wall mounted range hood from Best Online Cabinets ($449). It is very a very sleek looking telescopic chimney range hood ideal for a vaulted ceiling. The 6” round duct vent exhaust and back draft damper permit superior venting, while long life lights on it keep the cooking range well lit. 3 fan speeds allow you to moderate the noise and fan activity based on what you’re preparing–we highly recommend this model.
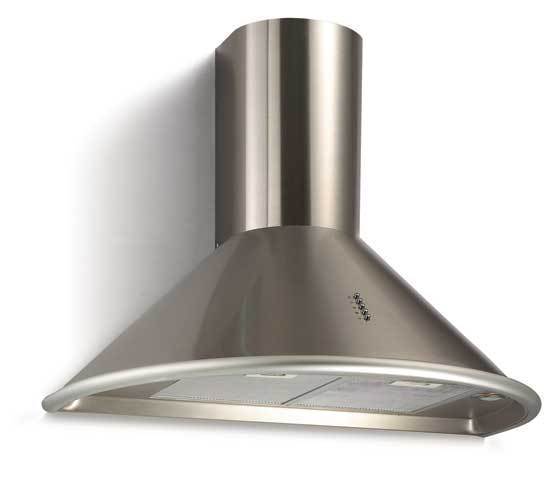
Removing Your Recirculating Range Hood
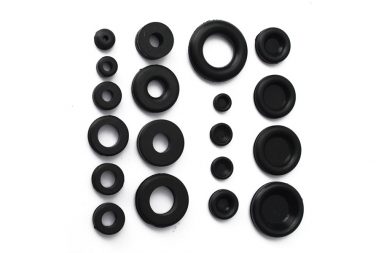
Begin by removing the filter(s) and unscrewing the bottom cover of your hood. Remove the damper/duct connector, then set it aside to prevent damage. Next, use a hammer + slotted screwdriver to remove the duct knockout from the rear of your hood. Go slowly and take care not to deform the metal surface surrounding the knockout hole. Then screw the connector over the hole.
Cutting the Hole
Before removing your old recirculating range hood, ensure that you have shut off the electricity to that circuit at your main. Flip the light switch on the hood to confirm that the power to it is off. Remove the grills from your stove top, then cover the range with a blanket to avoid any debris. Reach up and disconnect the electrical cable. Locate the mounting screws holding your hood in place and remove them. Then gently pull the hood out from the wall.
Next, mark the centerline of the upper cabinet on your back wall. Measure down ⅛” from the bottom of the cabinet, and draw a level line across the wall. Use these two references marks to draw a 3 & ¾”-high x 10 & ½”-long rectangle on the wall. Cut out the duct hole with a drywall saw. If you’re lucky you won’t hit a wall stud or other obstacle. If you do, but it’s just at one edge of your hole, you can shift damper/duct connector on the rear of the unit 1” to the left or right. This shift is often enough leeway to miss a stud or obstacle. However, if the stud is still in the way, you’ll have to remove it and install a header.
Removing the Stud for Your Header
Empty out the wall cabinet that sits directly above the duct location, then unscrew and remove the cabinet. Cut a hole in the wall that’s about 14” high x 28” wide. Use a reciprocating saw to cut the stud 6” above the location of the duct hole and 4” beneath it. Pry out the severed piece of stud. Next, make a header by nailing together two 2×4’s sandwiched around a ½”-thick plywood spacer. The header must be long enough to span between the two full-length studs on each side of the hole. For studs spaced 16” on center, cut the header 30 & ½” long.
Make a double sill plate to the same length by nailing together two 2×4’s. Then, reach into the wall hole and screw a 2’-long 2×4 trimmer stud to each full-length wall stud. The trimmers must be level with the top of the just-cut wall stud coming up from below. If you can’t fit the trimmer stud into place, enlarge the hole. Slip the double sill into the wall and screw it down into the trimmers. Insert the header and screw up into the bottom of the cut stud hanging down from above.
Cut two short 2×4’s to fit vertically between the sill and header. Screw one to each of the full-length wall studs inside the hole. Cover up the new framing by replacing the original drywall or cutting a new piece to fit. Conceal the wall patch with drywall tape and joint compound. Reinstall the wall cabinet and cut out the 3 & ¾”-high x 10 & ½”-long duct hole. Next, transfer the duct hole location to the outside by boring a hole through the exterior wall from inside. Go outside and use the hole as a reference point to saw out a 3 & ½”-high x 10 & ¼”-long duct hole.
Install Your New Range Hood Yourself
The hardest part is done (believe it or not)! Actually installing the range hood only takes a half an hour or so. Begin by feeding the electrical cable through the round knockout hole in the rear of the hood. Be sure the hole is fitted with a cable clamp. Use wire connectors to join same-color wires (black to black and white to white). Tighten the green or bare wire under the grounding screw. Lift the hood into place and press it tightly against the underside of the upper cabinet. Secure it with four screws driven up from the inside.
Now go outdoors to install the wall cap. Run a continuous bead of caulk around the flange of the wall cap, then press it into the hole. Check to make sure the wall duct on the cap slides onto the damper/duct connector that’s attached to the rear of the range hood. If the wall cap is too long, trim it with tin snips. If it’s too short, pick up a 3 & ¼” x 10” section of aluminum duct at a Home Depot or lumber yard. Cut a piece of duct to fit between the wall cap and damper and attach it with professional (not cloth-backed!) duct tape.
Finish the installation of the wall cap by screwing it to the house. Turn the electricity back on and test the ventilating fan and lights. Go outside to check that the wall cap damper flips open when the fan is on and closes tightly when it’s off. Of course to truly test your new range hood, go fry up something delicious— you can be confident that the kitchen won’t smell like a smokey cistern.
Ready to tackle your next project? Why not think outside the kitchen and check out our article on making loft & bunk bed storage with RTA cabinets.