Reinforcing Your Loft or Bunk Beds for Safety
Welcome back to our DIY Ideas series on making loft or bunk bed storage with the help of some ready to assemble cabinets! If you’re just joining us, you should head back to Part 1 to catch up on earlier steps including:
- Measuring the wall
- Figuring out your final layout
- Cabinet assembly
- Constructing the base frames for your cabinets
Once you’re caught up and ready to continue, we’ll dive in to our next steps. This installment will cover reinforcing our cabinets and installation so that the final build for our project is stable and strong.
5. Reinforcing the Interiors of Your Cabinets
When cabinets (whether custom or RTA) are tasked with supporting additional weight, they should be reinforced. Consider that this is a de facto standard for, for example, concrete countertops–and those don’t even have to support people. The last thing that you want is to chance either destruction of what your cabinets are storing or a failure of the bed supports leading to serious injury.
In part 1 of the series, we walked through the creation of frames to support the bottoms of our base cabinets. That is a start, but we want to get the cabinet interiors reinforced with lengths of lumber as well in order to provide adequate support for all potential weight they might bear.
Note: Most RTA cabinets you find online will be constructed using ½” panels–fine for a lot of installs, but not so much when these are meant to assist in bearing loads above them. Some RTA cabinets are built with a ⅝” plywood box, providing a boost in supporting material. These should be your go-to for a project like this.
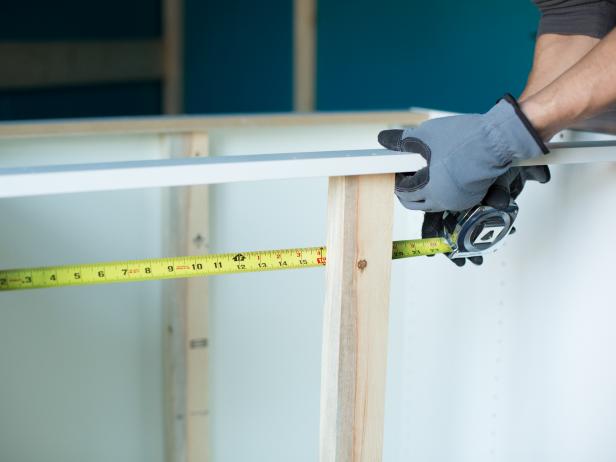
First thing you’ll want to do is measure the cabinet interiors with your measuring tape. Following that, utilize your hand saw to cut to length two strips of 2×4” lumber.
Position one of the two cuts that you made along the rear center of the cabinet interior, placing it in the exact middle using your measuring tape. Secure it using either a nail gun or your drill and some 3” wood screws. Follow this process again for the front of the cabinet.
You should also reinforce the width of the interior using 2×2” lumber, but after the cabinet shelves have been notched and fitted into place.
6. Add Aesthetic Fascia to Front-Facing Reinforcements
This step is a cosmetic one, but virtually no DIYer would want to skip it. A fascia cut to size for your cabinet fronts can provide a completely seamless appearance between them. You will want to paint it the same color as your cabinet exteriors for optimal blending.
Utilize your tape measure to mark off an 8×4’ plywood sheet of ¾” paint-grade plywood to size (should fit the length of your center front 2×4” reinforcement strip). Cut with a circular or table saw, then paint to match your cabinet fronts. Add wood glue along the front of your center front reinforcement strip, then insert your fascia over it.
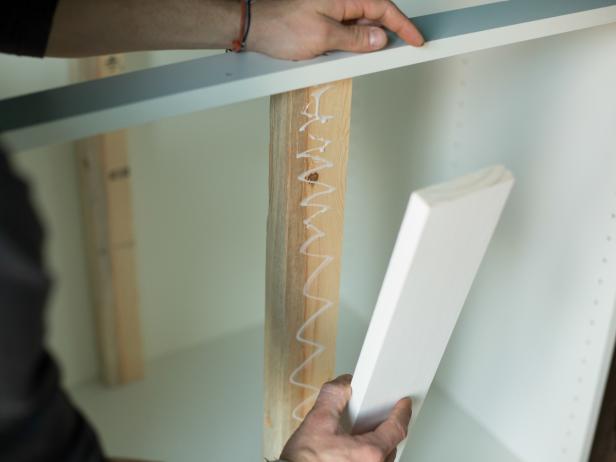
Finally, secure the fascia with a nail gun and brads, or your drill and some 3” wood screws, down through the top of the cabinet.
7. Notch Your Shelves to Fit the Custom Reinforcements
Since we have added custom reinforcements, our cabinet interiors have become an alien space for the shelving designed for the RTA boxes. We need to ensure that the shelves will still fit flush and securely in the cabinets, and this calls for cutting out space for them to accommodate the reinforcements we’ve added.
With your tape measure, locate the center point on your shelf and mark along the front edge with a pencil. Center a scrap piece matching your 2×4” center front reinforcement in front of this mark and trace its width using your pencil plus a speed square.
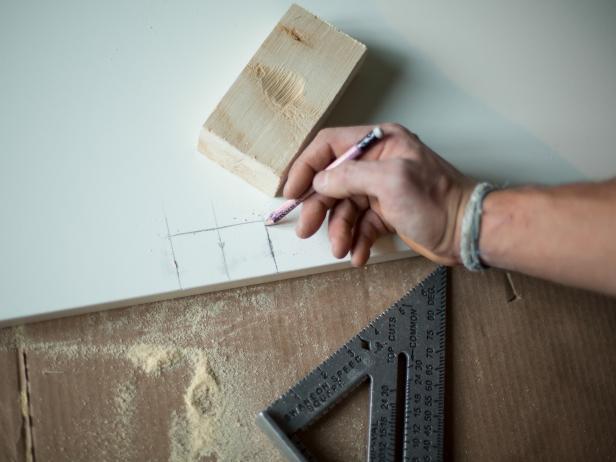
Place your shelf on your table saw and cut your perpendicular lines in. Follow this up with a final cut using your jigsaw.
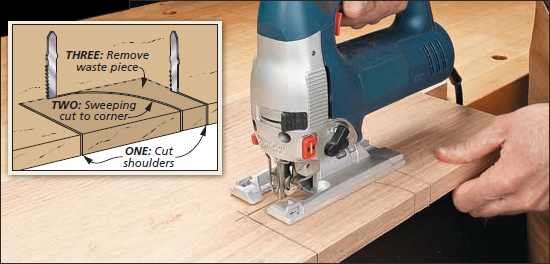
8. Install Shelves Within Cabinets
To ensure a completely level installation, use (you guessed it!) your tape measure to verify your hole pegs for shelves will be placed appropriately. Slide your shelves into the cabinet interior and rest on your pegs.
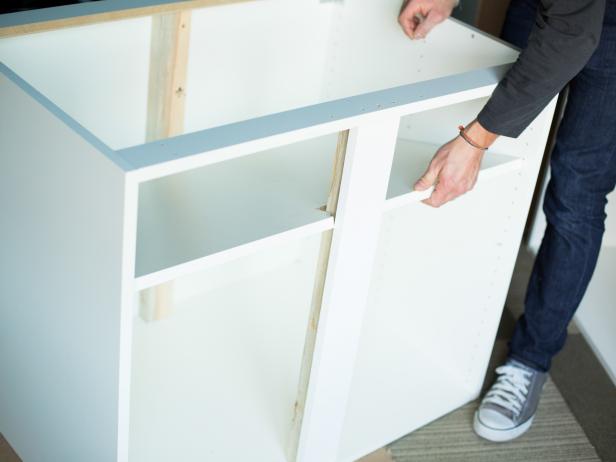
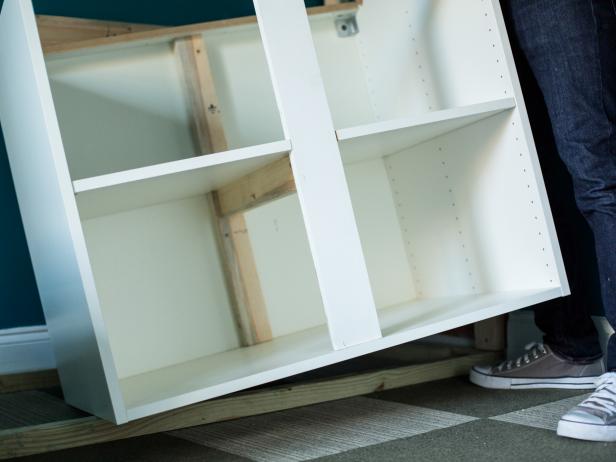
We will want to support the shelf’s center (from front to back) using a bit of lumber. Using your existing measurements for the depth, cut an 8’ strip of 2×2” lumber to length with your hand saw. Place this length of wood directly beneath your shelf; at each end it should be butting against the reinforcement strips you created. Use wood glue to secure it to the bottom of your shelf, and then use your drill and 3” wood screws to secure it to the rear and front reinforcement strips.
Picking Up Next Time
We’re getting there! Our cabinets have been customized and reinforced, and we’re ready for more of the superstructure. In our next (and final installment which you can find here), we’ll discuss:
- Creating your wall braces for the overall structure
- Creating supports for the bed frames
- Installation of your base and lower cabinets
- Constructing your bed frames and installation of open shelves
- Installation of your upper cabinets
- Painting your bed fascia, plus installing needed safety rails for the bed
- Finishing touches (Door fronts and minor hardware)
