How to make it happen, ‘DIY’-style
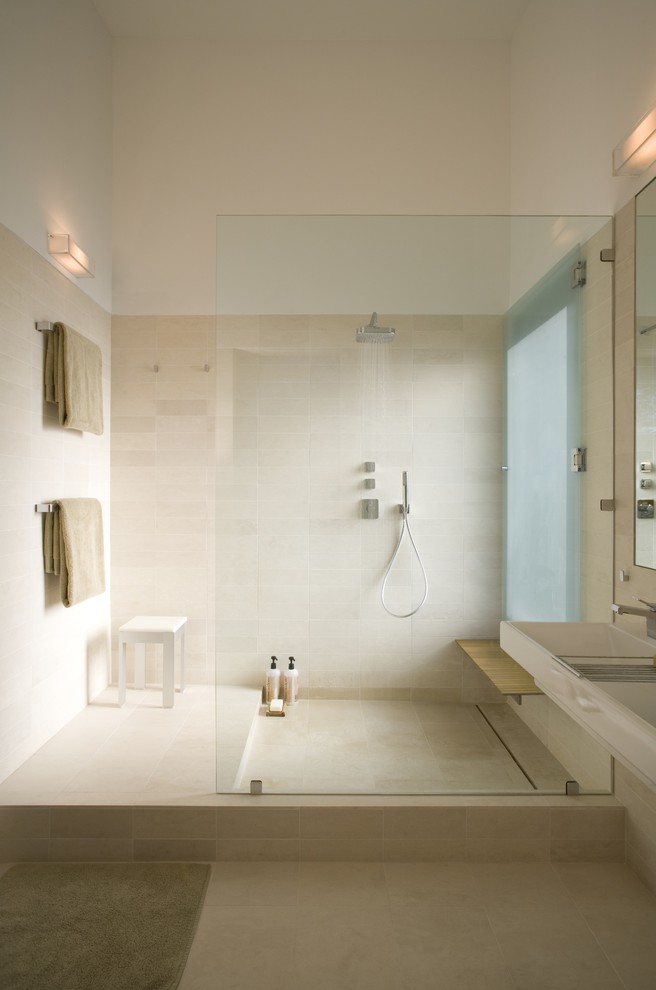
A hybrid curb-less & curbed shower
Showers are just more modern, aren’t they? Fewer people than ever take baths anymore. This is one reason why converting a tub to a shower is a practical idea that can pay dividends. It is a stylish upgrade, in fact, that will leave your bathroom appearing more expansive. The feel of greater space is one that appeals to everyone. Actually improving the functionality is an added bonus, particularly desired by people of mature age or anyone of hindered mobility.
A project such as this has great cost saving potential as it is entirely possible to do it yourself. If you can enlist the help of a handy friend or two, the expense of a contractor is not necessary. On the other hand if there’s no way around hiring a professional, the amount is not life-changing – typically around $2,000.
You’ll first need to be sure you have the right tools on hand. Many of them you likely already own, like a screwdriver, wrench, Allen wrench, utility knife, reciprocating saw, pry bar, and jigsaw. You’ll also need a shower kit and plywood. Check all of these items off your list as you get them before proceeding.
The first thing you need to decide is the style of shower you want. You can choose between a ‘curbed’ shower that has a pan-like floor and low curbs that are raised so that water is kept in. Meanwhile a ‘curb-less’ shower has no low curbs, and the shower pan is flush with the rest of the surface (the magic of invisible sloping makes it possible). The former will run about $600 to $1000 to install, and the later curb-less style is a bit pricier at $1800 to $3000. Further variables in cost come with the choice of using a shower kit versus installing a custom shower, but the shower kit is a overall better bet as it is cheaper to buy and install.
You will also have to decide what the entrance to your shower will be. There are quite a few pros and cons of glass shower doors and shower curtains to consider before committing to one or the other. Shower curtains give a more relaxed and casual look while glass doors are great for a serious and sleek look. However, glass doors can cost up to a hundred times more than a simple shower curtain.
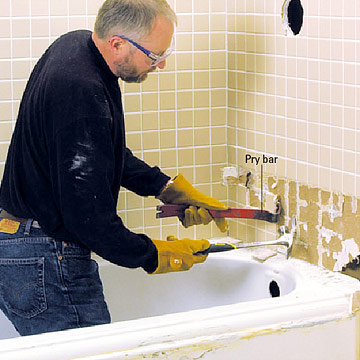 It’s time to think about old tub removal. If it’s an older synthetic plastic or alcove model, removal may be quite easy. The newly freed space should be handsomely adequate for a shower as well. Generally, you’re looking at a area about thirty inches by thirty five inches to five feet wide. Making the task a little easier is the fact that the plumbing does not need to be moved, but may need to be modified from its previous tub configuration. If it is necessary to maneuver the plumbing after all, expect costs to increase as the hiring of a pro becomes mandatory.
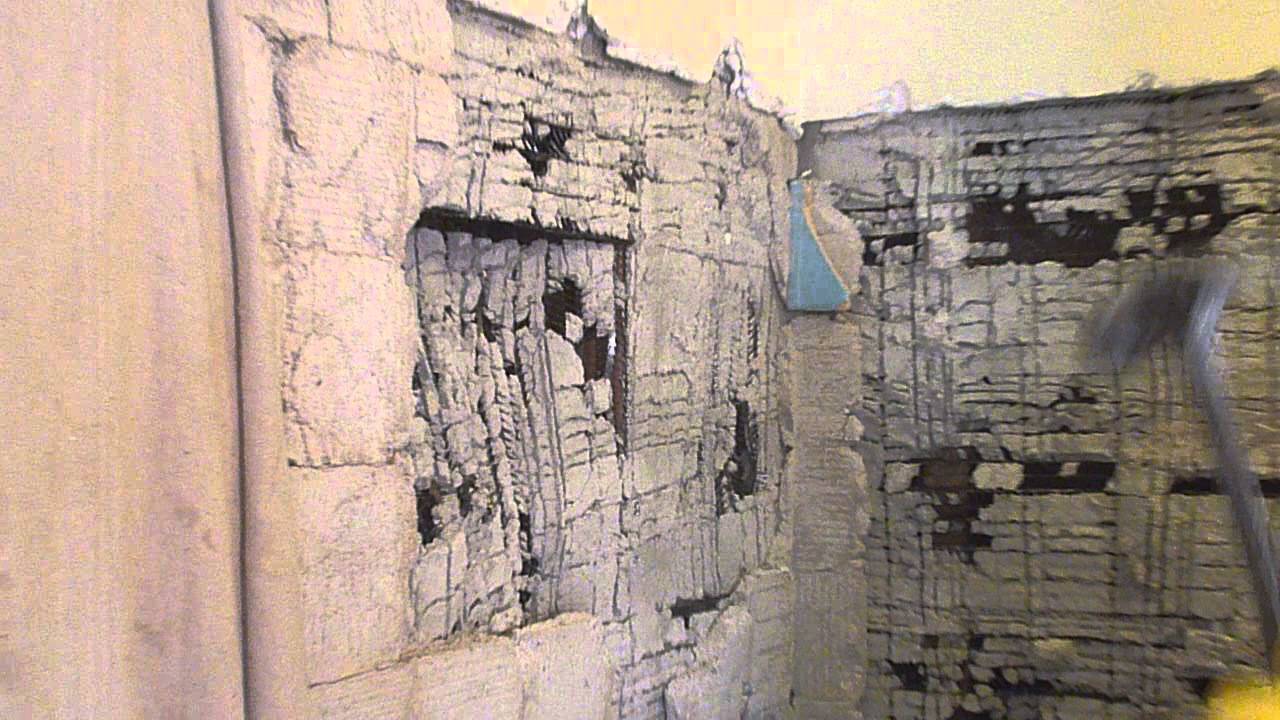
Now it is time to break ground – literally. Begin the project by tearing out the tile and drywall that surround the tub. This will help prep it for easy removal. Start by covering the floor with a tarp of plywood before turning the water to the bathroom off. With a screwdriver or Allen wrench, prop off the drain cover, shower curtain rod, faucet knobs and other applicable fixtures.
Using your wrench, disconnect the main and overflow drains, turning counter clockwise to loosen the locking nut. With the putty knife take out the tile around the tub – just cut the grout and pry it all open. When the tile is off, mark the surrounding drywall. Cut on the lines around the tub, avoiding any studs. Proceed to remove the drywall in a careful uniform motion.
Next, let’s remove the tub. Start with removing old nails or screws that attach it to the surrounding walls. Then cut through the caulk around the floor with your utility knife. Here’s where the pry bar comes in – lift an end of the tub and forcibly jiggle it out of place. Be advised, there’s a chance you may need to cut the tub down in order to remove it from the room.
Toss all of the discarded materials out, hopefully there is a dumpster at your location so you have easy disposal. If not, there are services like 1-800 Got Junk. It’s one of the more popular services in the nation but it’s completely possible to find a cheaper, local alternative so do your homework. In most places you are not permitted to leave an old tub with debris out curbside for city pickup that you just assume.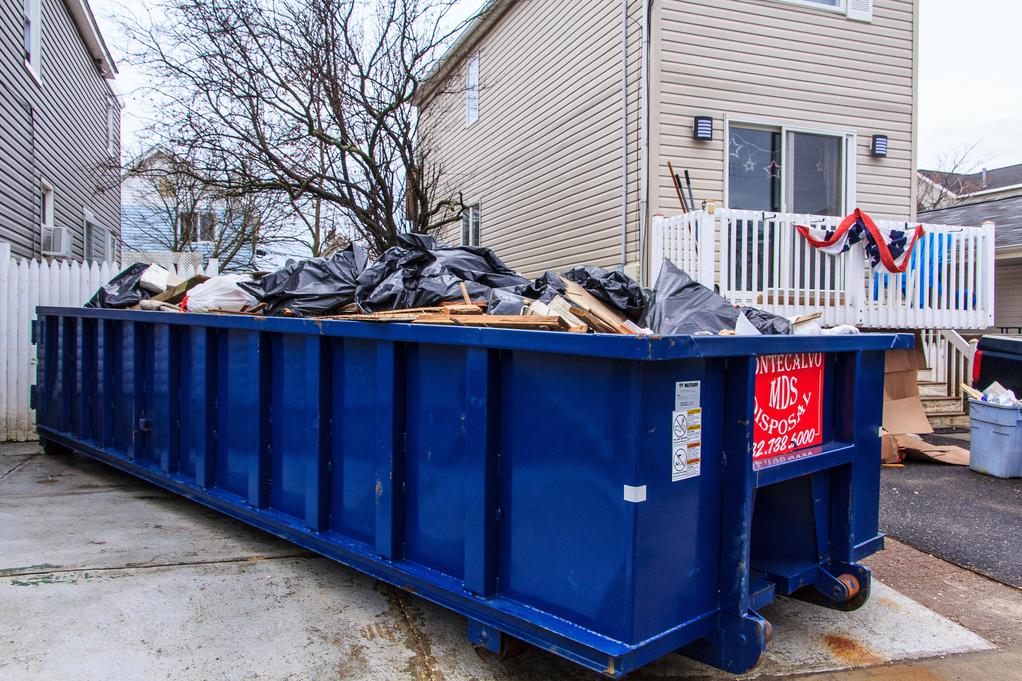
Finally, it’s time to put in the shower. You have chosen between the curbed and curb-less shower designs. You need to be certain that the floor extends low enough for the curb-less floor pan to fit well and in-line with the existing flooring. The directions on the kit packaging are pretty standard and easy to follow. Follow the steps exactly as outlined and you should do well.
It’s that simple, a shower conversion can be yours with a little investment of your time and money. The pride of using the shower and the knowledge that it increases the property value is perhaps the greatest reward of this special DIY project.
