Solutions for any size wall holes
It takes just a few steps to get rid of holes of any size from your walls. From unattractive dents to gaps caused by nails to big gashes made by who-knows-what, knowing how to use drywall can help you return the room to tip-top condition. It’s definitely a skill every renter should know. It doesn’t matter if you are a ballerina living in a cushioned one-bedroom apartment; anything can happen – there’s always the potential to visibly damage your wall. For instance you might just be moving furniture, or positioning a painting on a wall, but you’re bound to leave some evidence of a compromised space behind. Fortunately, if you have the right tools and a little know-how, it’s something an average homeowner can remedy. Never worry about having your security deposit not being returned again (at least not for anything to do with the walls, that is).
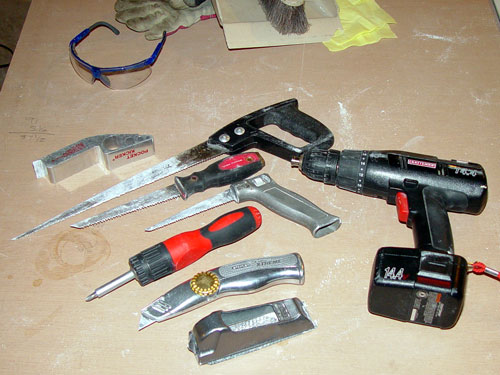
What do you need? Specifically, it depends on the extent of the damage, but a good standard set of drywall tools would include a spackle, putty knife, drywall patch kit with a self-adhesive mesh patch, sanding sponge, joint compound, drywall scraps, drywall saw, .75″ x 2” – 1” x 4” furring strips, drill, drywall screws, pencil and joint tape. Remember, when taking on a task such as this it is always safety first. Check for any wiring and plumbing you’ll need to be mindful of. Be certain to wear a dust mask, goggles and gloves before proceeding.
When dealing with small dents and holes, clear away all loose residue, such as that caused by paint that is chipping. Cover the offending areas with spackle and smooth it down level to the surface with a putty knife. When the spackle becomes dry, sand and paint.
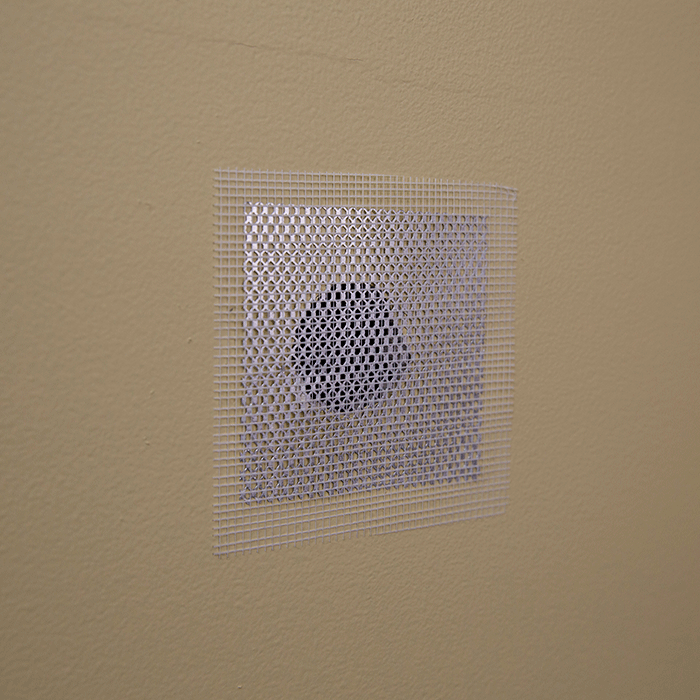
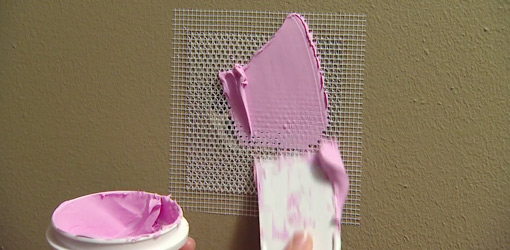
It’s generally a like-concept for medium sized holes as well. If a doorknob or large nail is the culprit, a drywall patch kit may be necessary. To start, sand the surrounding area and wipe off any dust. Apply the self-adhesive mesh patch to the spot in question. Quickly cover the patch with the joint compound. Boost the pressure on the putty knife as you spread the compound, feathering the edges of it as you go over the original drywall. If necessary, put on a second coat of joint compound after that has dried. Once again, sand the surface smooth and wipe away remaining dust and paint.


When it comes to the larger holes a greater form of remedy must be applied – a piece of drywall backed by wooden support. Check the thickness of the existing material and match it as closely as possible. You may even find discounted drywall scraps for sale in lieu of an entire sheet. Once that’s  squared away, cut the scrap into a square large enough to cover the hole. Affix the scrap square over the hole and with a pencil, trace a line around it. Be certain there is no electrical wire or pipes immediately behind the wall you just marked before cutting along the outline with a drywall saw.
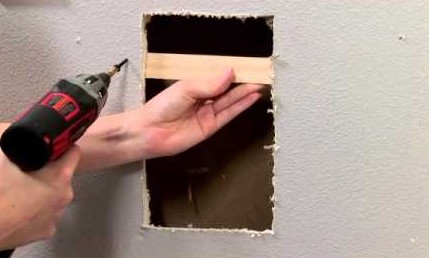
Take two furring strips (made of wood) and attach them to the inside of the hole. Put one on top and the other on bottom, drilling them in tightly with drywall screws. Screw the square to the strips. Add joint tape around the patches edge. You can use self-adhesive joint tape, otherwise joint compound will suffice. Spread it around the taped patch, applying more pressure around the edges to feather the material. Let it all dry. Reapply if necessary. Sand the surface smooth, completely clear away and dust and paint.
Once you’ve mastered these skills you’ll be surprised how far the knowledge can take you. In a perfect world, you’ll start small with an easy patch job, but sometimes you must really test your mettle when you get thrown in suddenly to repair a large gouge. But it is profoundly rewarding to be able to fix these things as needed. It’s a handy ability that will impress others and never fail to be useful.


