A DIY how-to for setting up the plumbing
You took the plunge and invested in a kitchen island. You went a little farther 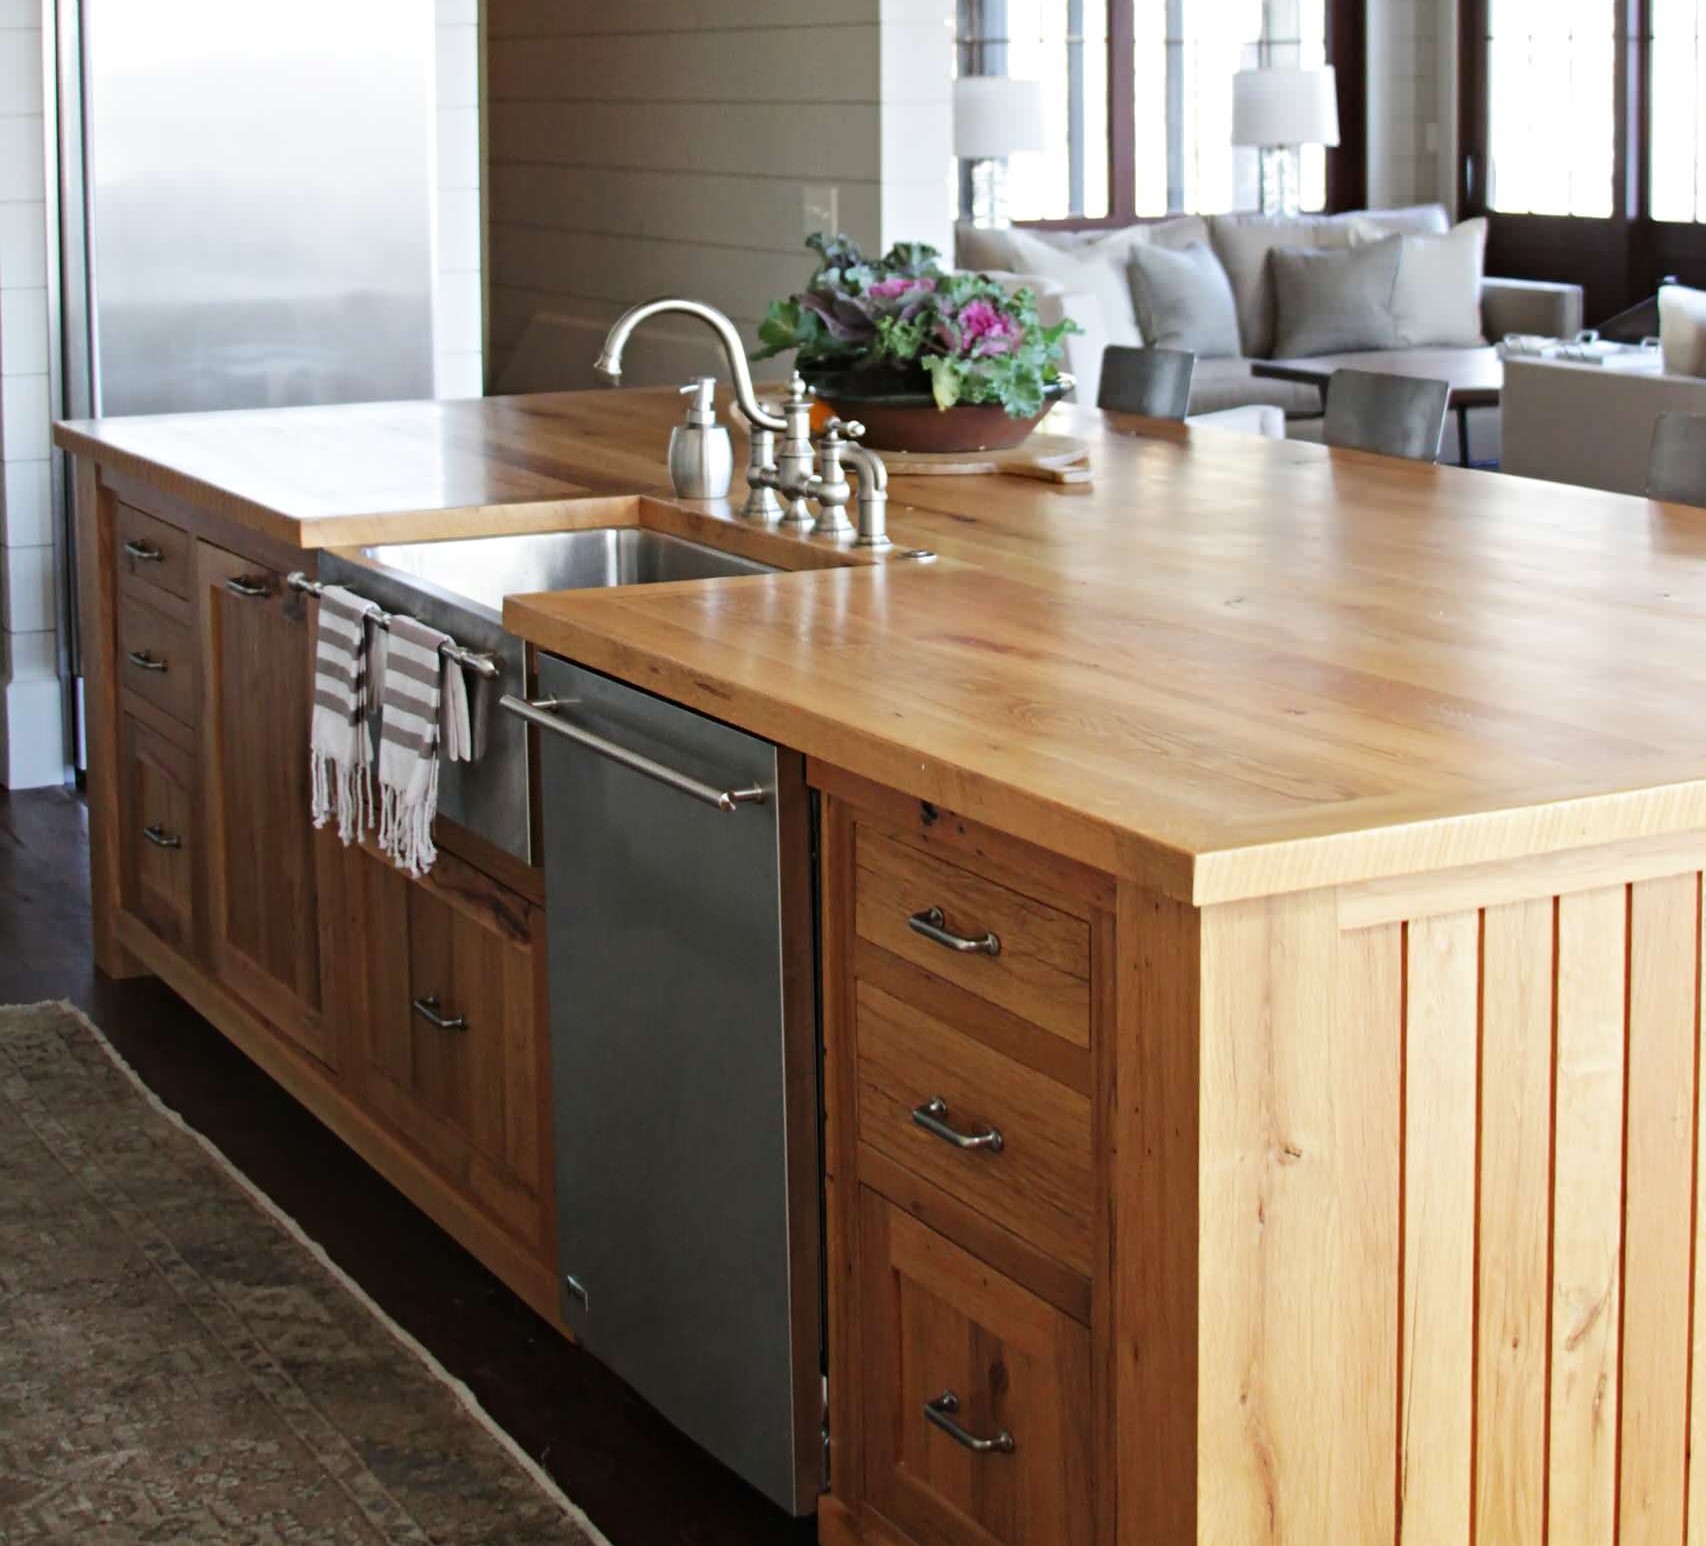 and picked one with a sink. So now you are faced with the task of getting water to run from said sink. Unfortunately, you don’t have the luxury of being adjacent to a wall that holds all the pipes and vents you’ll need. No, instead you’ll need to have the plumbing contained in the island itself.
There’s good news, if you have a bit of DIY experience and basic plumbing tools, it is very likely that you can fulfill this task without hiring outside help. You’ll need to put in a bit of elbow grease and invest some time in preparation, but it is possible for homeowners to pull it off with ease. This means that if you’re able to do the job without issue, you will save a nice bit of cash, at least $400. Of course, you’ll need to know the components you are working with, or you won’t be able to follow these instructions…
You will initially have to sort out the issue of venting. You can’t have gasses emanating from the sewer and making their way into your home. You need to install a vent that goes underneath the floor or an air admittance valve (or “AAV”) that opens only when waste water goes down the pipe while keeping sewer gasses at bay.
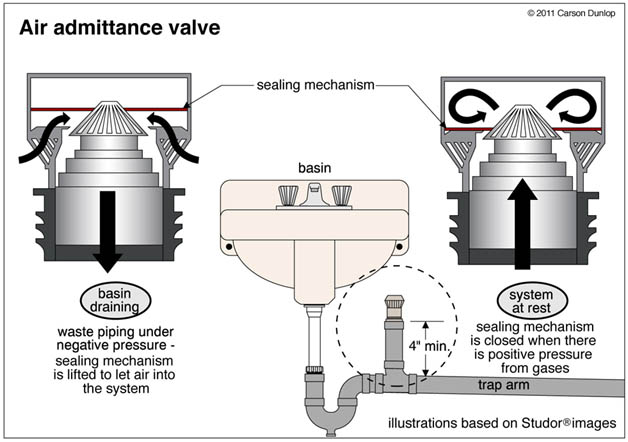 If you need to connect a dishwasher to the sink as well, you could potentially wear the AAV out prematurely. If you’re running a lot of water down the drain consistently you should consider a vent over a valve. Even so, there is no shortage of homeowners who swear by the AAV. All you need to do is check your local municipal codes first and be certain there are no restrictions for using an AAV in your vicinity.
With that out of the way, collect a two inch PVC pipe, a sink drain and P-trap assemblies, a PVC extension pipe, a sanitary tee and threaded adapter, air admittance valve, PVC pipe cement, hacksaw, sandpaper and lastly, a marker. Start by planning the path of your pipe. Run the two inch drain pipe underneath the floor from the main waste stack of the kitchen to the island stack (in one of the cabinets).
Confirm that is it in fact the shortest possible path before you actually begin removing the floor to get to the pipe. When you have the pipe in the island sink housing, extend it up to around five inches below the sinks bottom. Now you’re ready to install the drain.
Put in the drain and the tailpiece that comes off of it. The P-trap assembly attaches to the tailpiece. On the P-traps other end, connect the PVC extension pipe. Move the P-trap until it and the extension touches the drain pipe. This is the intersection, mark it. Cut the drainpipe with a hacksaw at the marked area and remove any subsequent burrs with sandpaper. Now, set your sanitary tee sweep facing up with the outlet pointing at the P-trap. This outlet and the extension pipe should be the same size. Solidify the sanitary tee and the drain pipe with PVC cement. Finally, connect the pipe and tee. You may need to cut it to fit properly. Use PVC cement again, attaching the two. The top of the tee must still be open.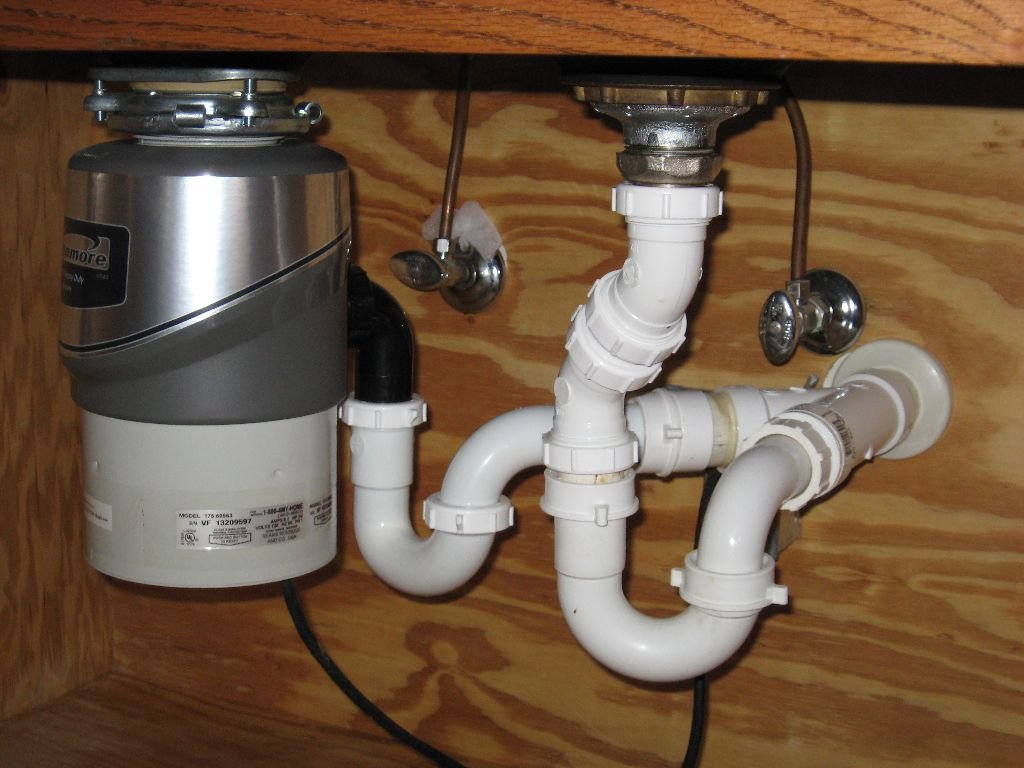
Next, install the air system valve. You may even be able to use the discarded piece cut from the drain pipe. Insert it at the top of the tee. What kind of air admittance valve do you have? Maybe you can glue it to that piece of pipe. You may need a threaded adapter that will allow you to screw in the valve. Ensure that there is enough air around it so it may function properly.
Implementing an air admittance valve may make the installation of a kitchen island sink easier for the average homeowner. Even so, there is no shame in contacting a pro for help if you run into trouble.
