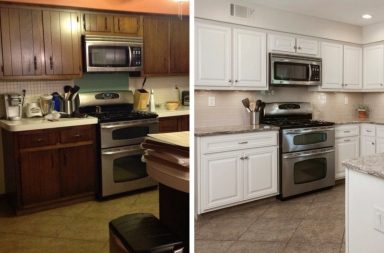
Breathe new life into old cabinets by re-staining them yourself!
You’ve emerged as a competent handy-person! Maybe you’ve made some easy kitchen repairs. Perhaps you’ve tried your hand in assembling and installing your RTA kitchen cabinets. Now, it’s time to take a new step. You have old and weathered bathroom cabinets and you’re uncertain if they can be saved. You need to make an intensive assessment. Will refinishing do the trick, or do they need to be replaced? Check the cabinetry, is it solid? Is it just a simple matter of the wood needing a new coat? If the situation reveals itself to be the latter, then all you need to do is re-stain. The best part is, you won’t have to invest much time, it’s easy and painless and you could end up sitting pretty with cabinets that look brand new within a few days. You’ll also be doing your part to create a green-conscious and environmentally friendly home.
Let’s start with the assessment. Carefully inspect each cabinet. Ensure that the wood is perfectly solid. Check for any possible structural damage (such as that caused by water). Open and close the doors, and be certain that they are fitting properly. Confirm that they are not warped or swollen and are, in fact, in good enough condition to endure more years of use. If they need to be replaced, you would only be wasting your time staining them. Don’t forget to check the hinges, door knobs and catches – change whatever is damaged or not fully functional.
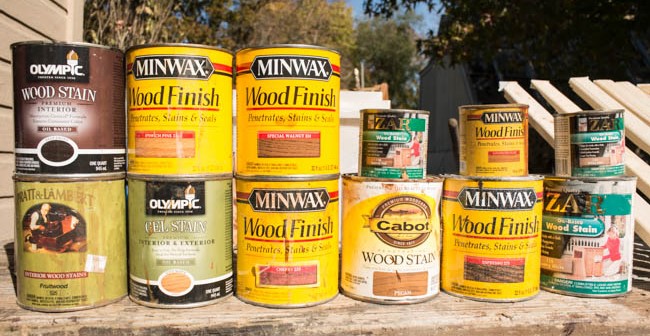 Next, you’ll need to decide on a stain. First, consider the wood itself. If the cabinets are constructed of quality material such as oak or cherry, you’ll want to stain them according to their natural finish. Of course, a lot of wood types can take varying stains, despite being of a different species. For instance, cabinets made of pine may be finished with stains such as red cherry or even golden oak. They don’t have to be strictly wood-specific.
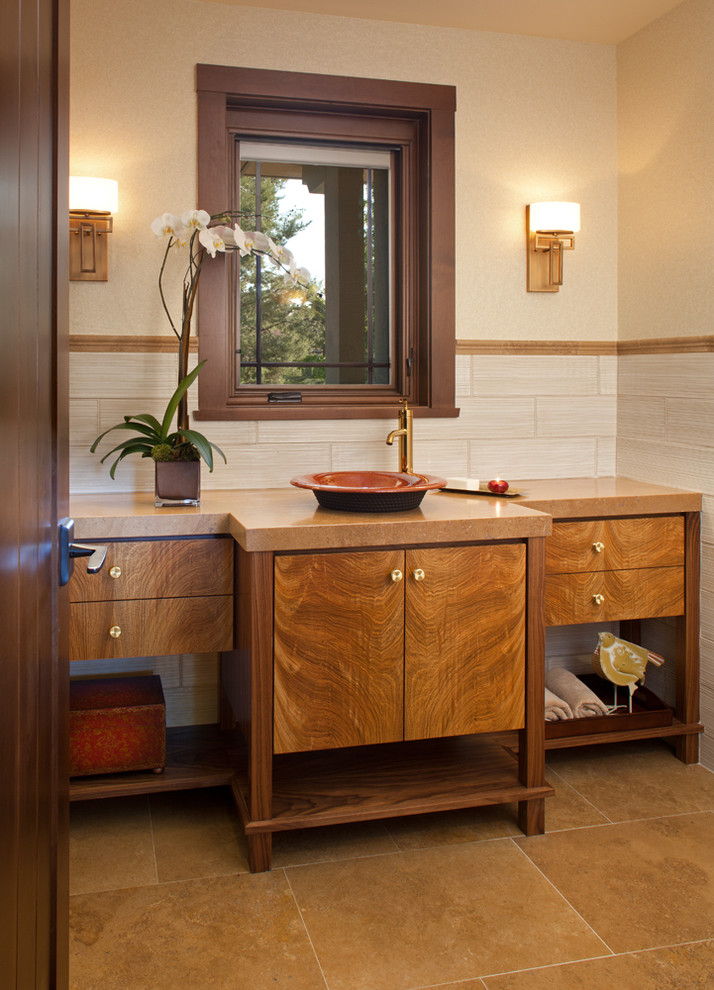
Please be certain to implement all necessary safety measures during this process. Wear latex gloves and safety glasses. A face mask (or respirator) is necessary to avoid inhaling dust or toxic fumes. Attach masking tape and use drop cloths where necessary to avoid any accidental staining of the floor, carpet, or any fixtures that happen to be nearby. Take a liquid stripping compound and remove the existing finish by applying it per the instructions provided by the manufacturer (likely printed on the bottle). Use in cooperation with steel wool, a plastic scraper or sandpaper. The old wood surface may have a very thin veneer so exercise caution, it can be easily damaged when sanded with too much force.
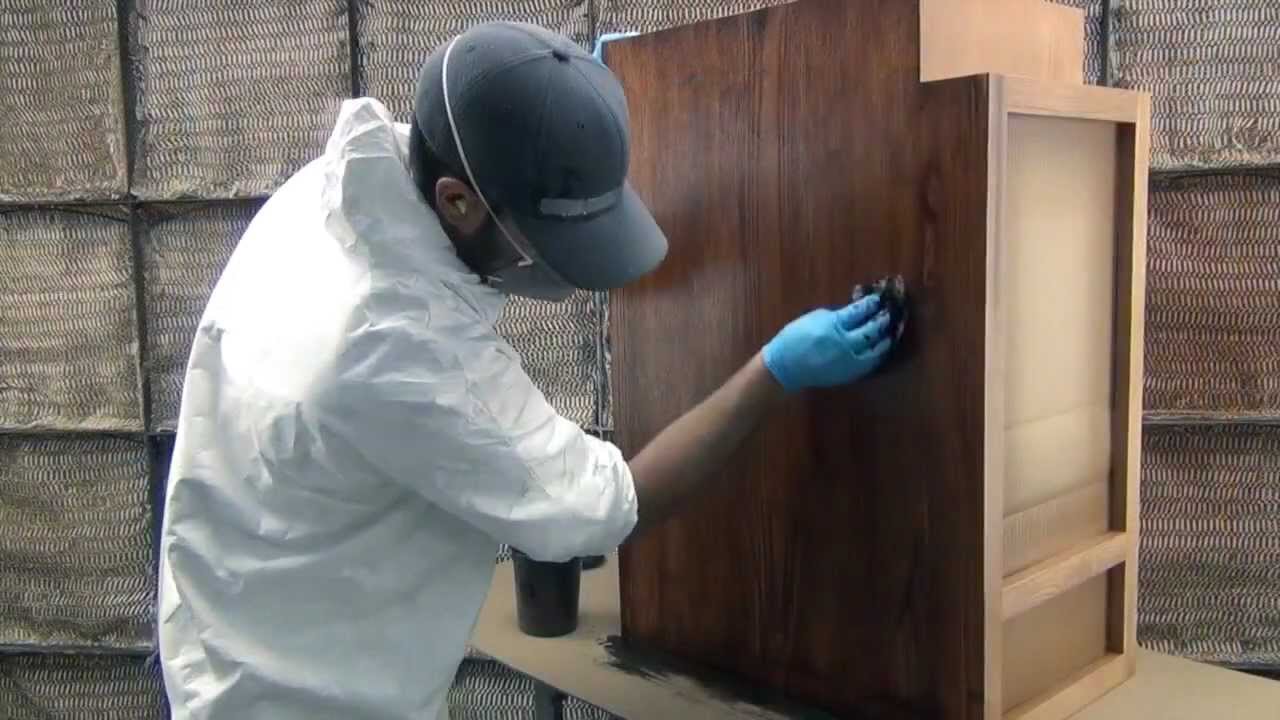
Now you’re ready to apply the stain. Once again, refer to the manufacturer’s directions before starting the process. A good rule of thumb worth implementing is to first apply a sample coat on a concealed area of the cabinet. This will give you an excellent idea of how the rest of it will appear. When all looks good, stain the entire cabinet and let it thoroughly dry. Apply a number of varnish coats thereafter.
The next step is also the most important. It is imperative to follow the procedure correctly. Always wait the recommended time before applying the next coat on your way to the final finish. The first coat should consist of a 50/50 mix of varnish and mineral spirits. After it has completely dried, add the second coat of a 75/25 ratio, varnish to mineral spirits. The final finish requires a pair of all-varnish coats. After applying the first of the two, sand the surface with a 0000 steel wool pad. Apply the second coat and repeat. Lastly, a layer or hard paste wax should be applied to insure that the cabinet is waterproof and shiny.
There you have it – general steps for staining and saving your bathroom cabinets. You CAN do it yourself! Take a look at our updated article on how to restain your bathroom vanities here.
