DIY Ideas: Add a Loft or Bunk Bed & RTA Cabinets Storage to a Small Room
Have you been going back and forth about what to do with a small room that possibly falls just short of giving you enough usable area to fill a complete purpose? A great way around this issue is employing loft or bunk beds and storage solutions to multipurpose a smaller amount of available space. We’ve compiled an installation guide to help you with any DIY ideas you may be having for a small room.
With just a small amount of lumber and some RTA cabinets from a reputable cabinetry supplier, you’ll be in business.
Materials You’ll Need to Get Going On Your Project:
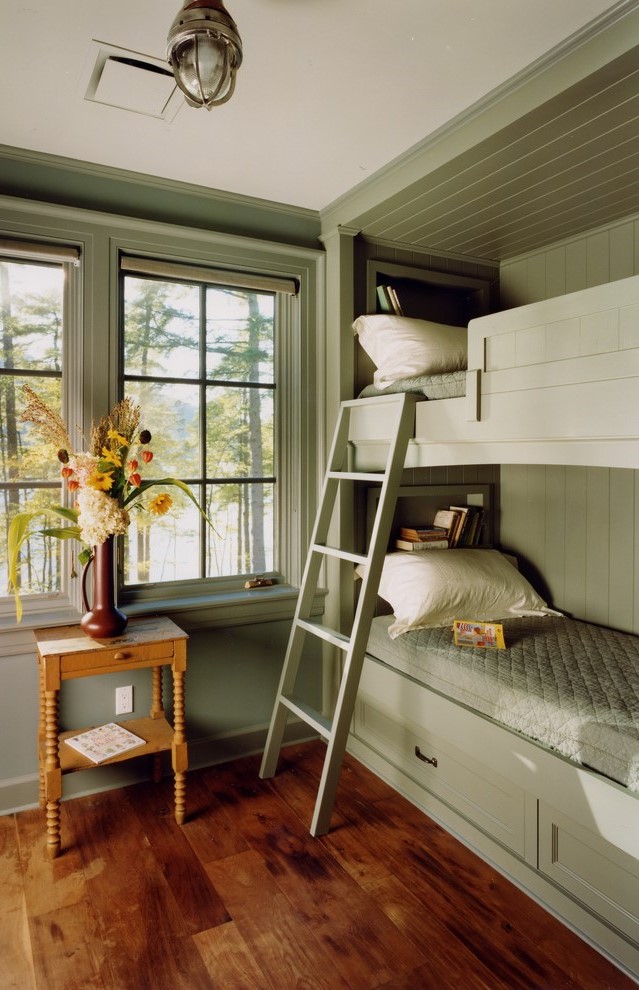 RTA cabinets (base)
- RTA cabinets (wall)
- circular saw
- table saw
- jigsaw
- nail gun
- brads
- drill
- 3″ wood screws
- 3″ metal screws
- galvanized metal pipe
- galvanized metal flanges
- galvanized threaded nipples
- galvanized metal elbows
- measuring tape
- 8′ long strips of 2×2″ lumber
- level
- 8′ long strips of 2×4″ lumber
- wood glue
- quart of semi-gloss latex paint
- paint roller handle
- paint roller sleeve
- paint pan
- 2″ angled paint brush
- pencil
- measuring tape
- three 8×4′ sheets of 3/4″ paint-grade plywood
- speed square
1. Measuring the Wall
You’ll first want to gauge the proper dimensions (height, width, and depth) of the wall you intend to install against.
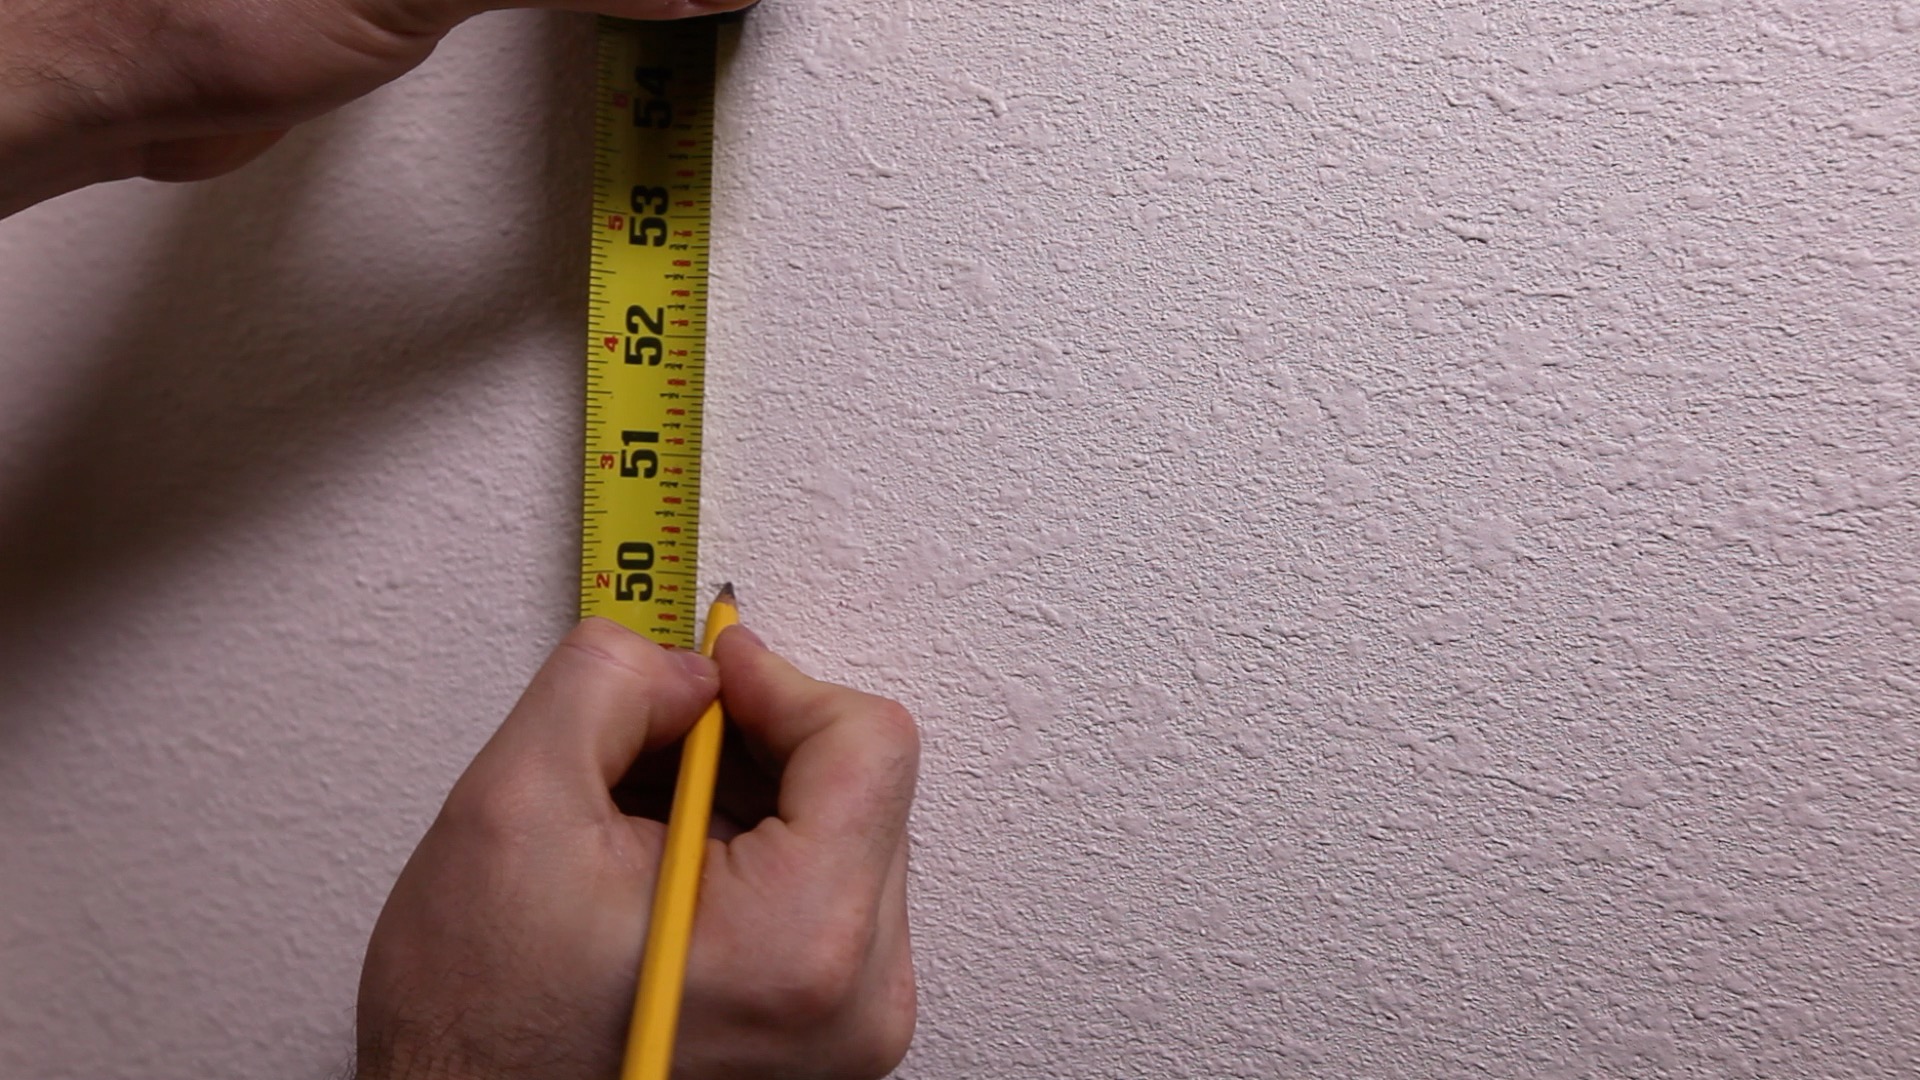
Use a measuring tape to determine the proper height, width and depth of wall (Images 1 and 2). Keep in mind that in addition to the cabinetry, the wall will also accommodate one or more twin mattresses. Since twin mattresses are 39 inches wide, it’s important for the wall to have enough depth for positioning the mattresses without impeding traffic flow.
2. Figure Out Your Final Layout
Using your measurements of depth, width, and height of your installation wall, pick out some ready to assemble cabinets. You can go with custom cabinets, but you’ll be adding significant extra construction time and cost onto a project that already has plenty of work for you.
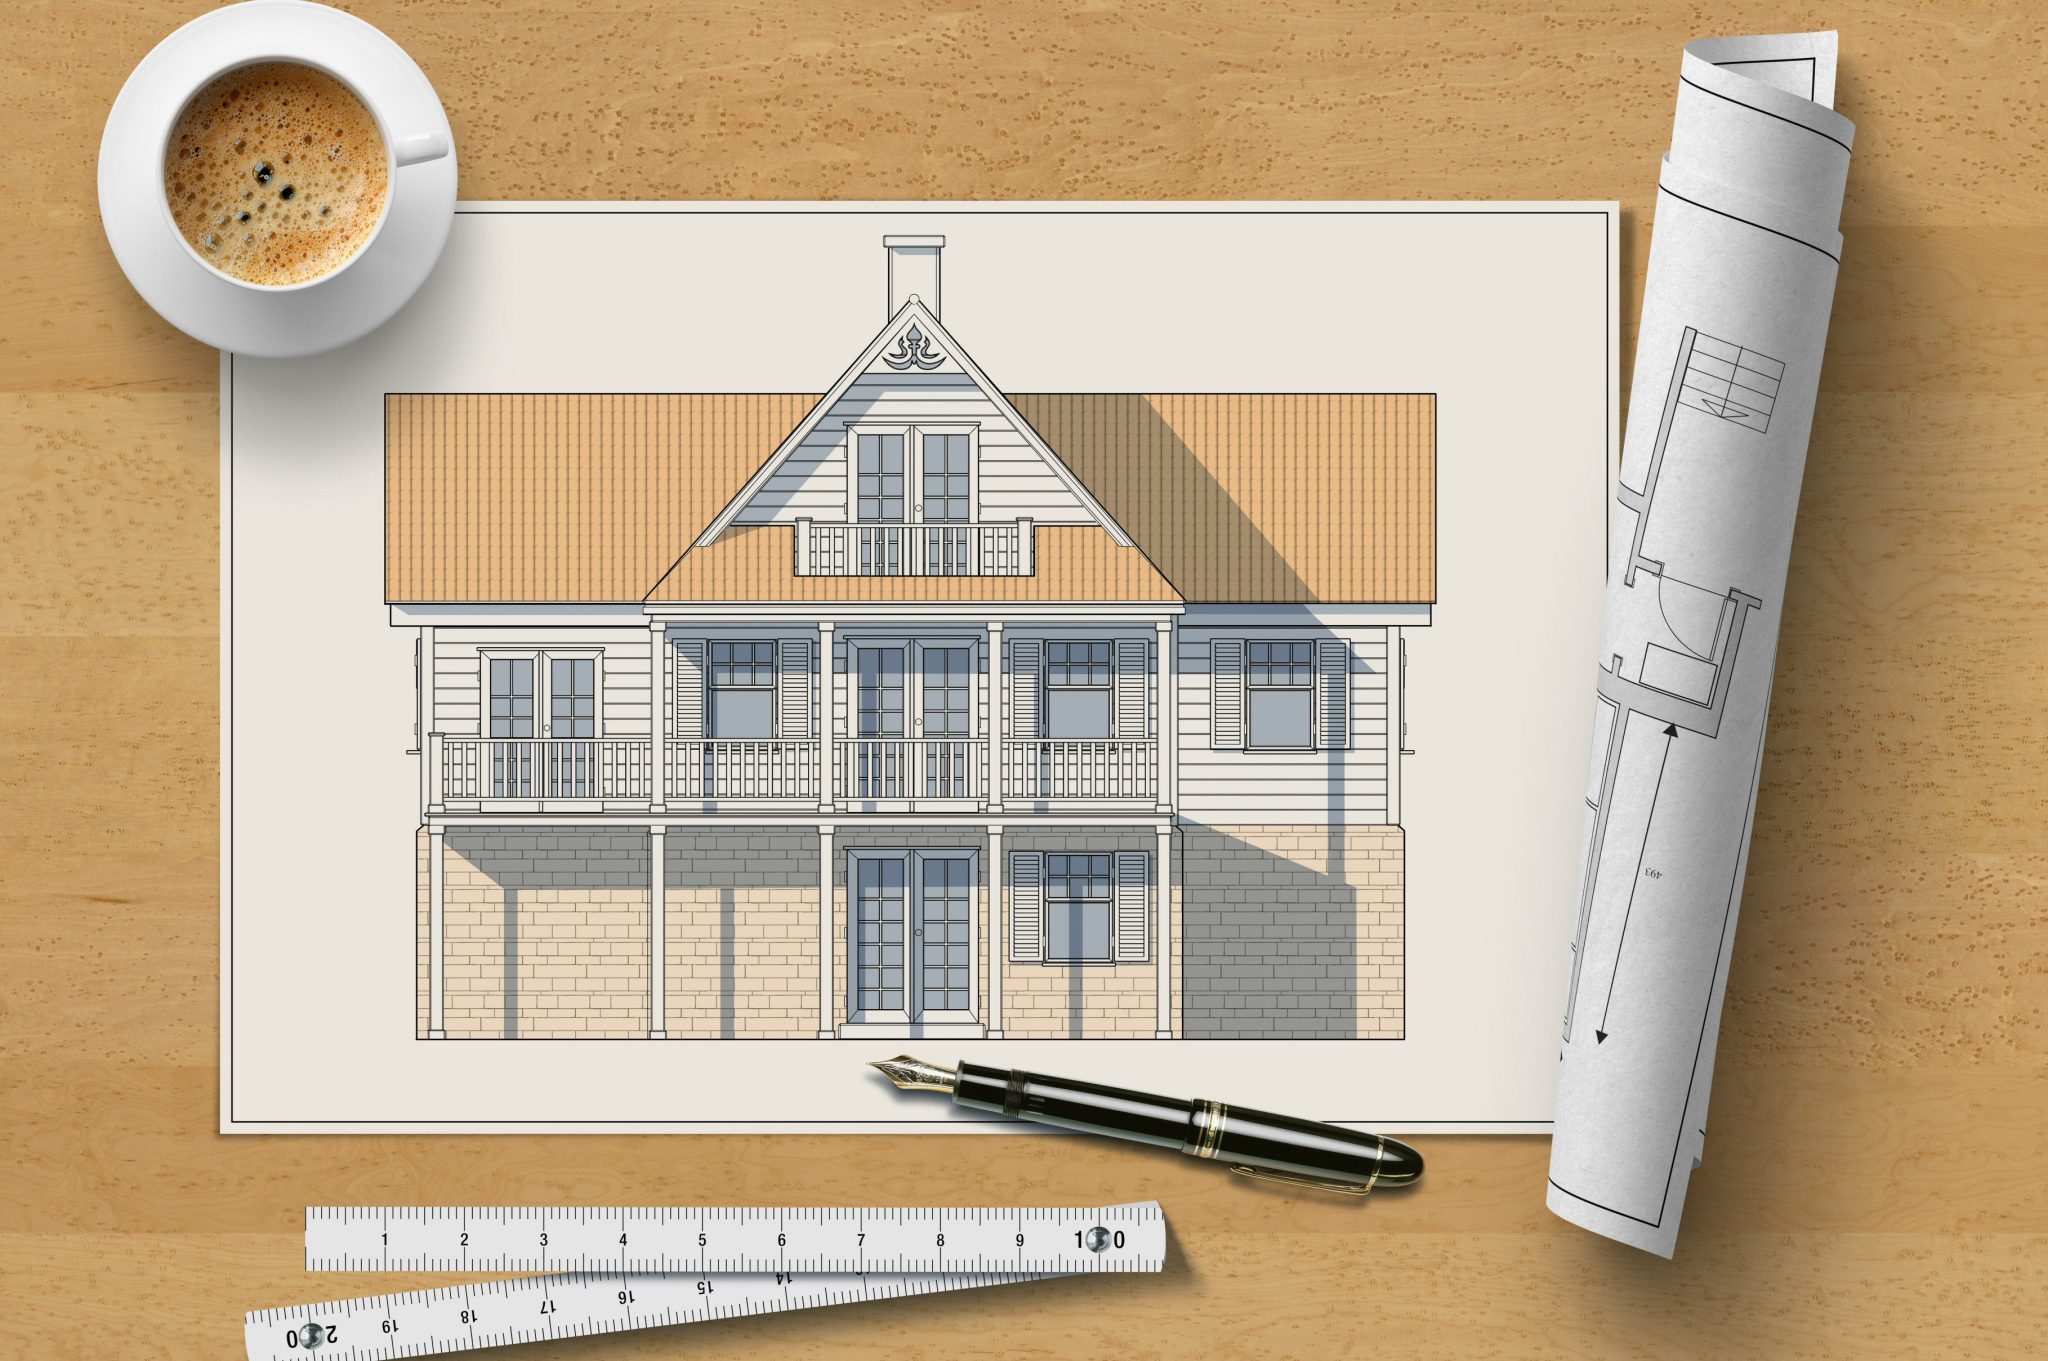
In configuring your layout, ensure that you have left enough space (length and width) for your mattress as well as ample room overhead for getting in and out of the bed.
Construction Tip: You can utilize spare lumber pieces to create filler between your cabinets, then paint it to match. Don’t drive yourself crazy trying to find cabinets that perfectly fit the specs of your project. These filler pieces can easily help you to maintain a cohesive design appearance.
3. Cabinet Assembly
It’s a good idea to put your cabinets together before proceeding with more significant construction steps. Having them fully assembled will provide you a much better visual of spacing and distribution within the room.
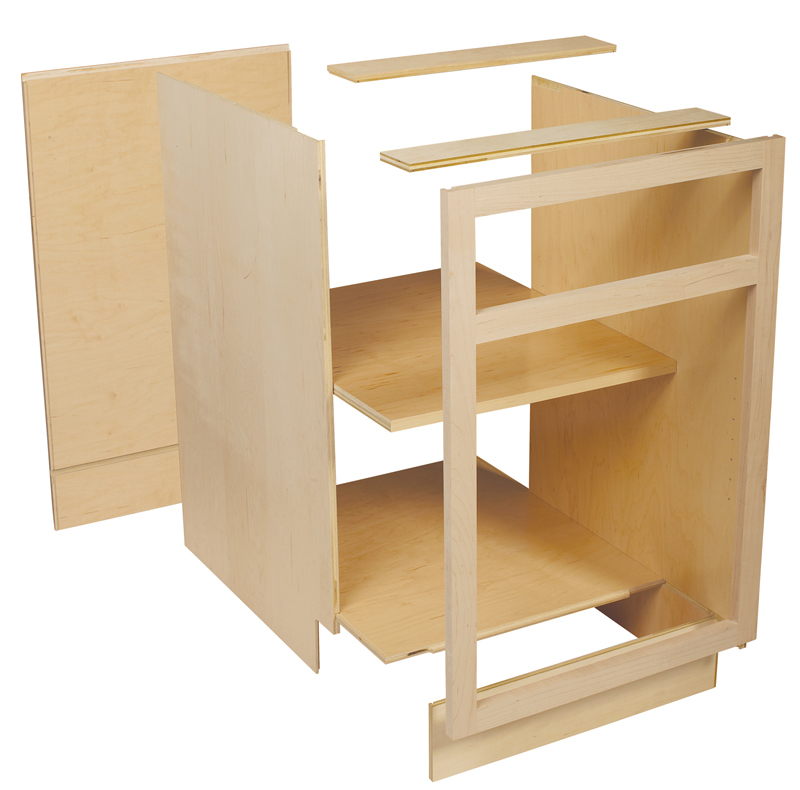
We always highly recommend closely following your manufacturer provided instructions–outside of hinges and door fronts. Leave those for later, as the cabinets will need to be well secured to the floor/wall before we get the doors on.
4. Construct Base Frames for Cabinets
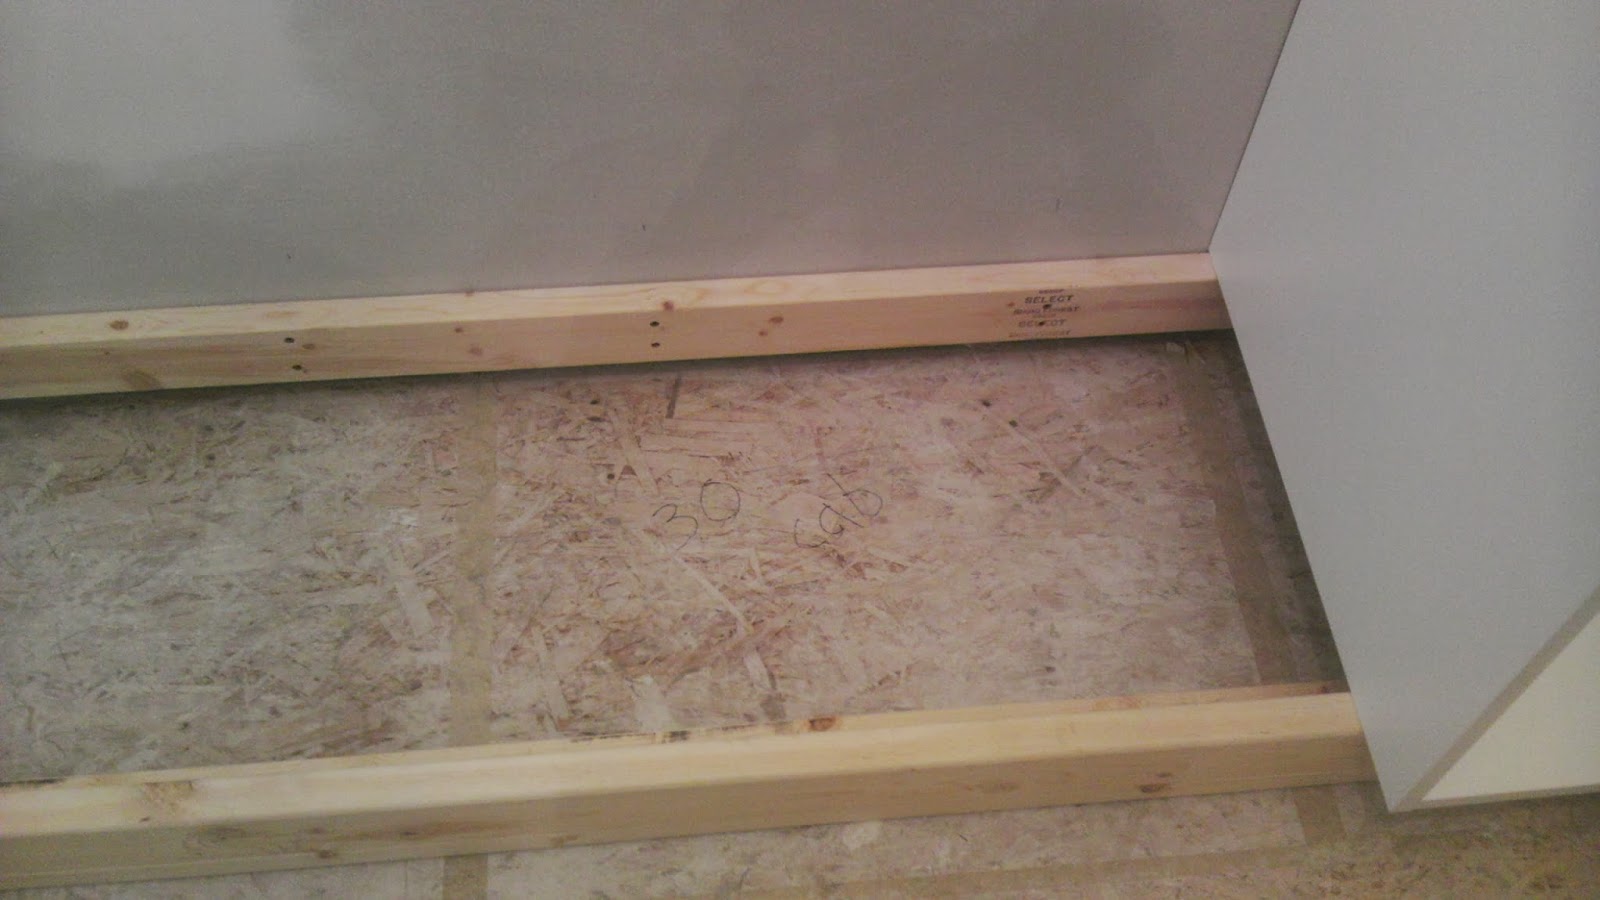
Your base cabinets require reliable structural reinforcement. This needs to be done before they can be depended upon to support additional weight from any second (or even third) row of cabinets above them, not discounting the bed frame(s) and mattress(es). You should construct a base frame on top of which the base cabinets will rest.
Use your tape measure to get the width and depth of your base cabinets. Then with reference to your measurements cut out 8’ strips of 2”x2” lumber with a hand saw. Attach them to each other with a nail gun and your brads, or a drill with 3” wood screws. With the base frame completed, put your base cabinets on top of the frames to be confident of their fit. After that, take a well deserved break and then maybe continue on with Part 2 of installing bunk bed storage or if you’re ready for the finishing touches, you can find Part 3 here.